Why Do Clothes Stretch and Dye Unevenly?
Ever notice a dress stretching out in all the wrong places, or a dye job looking strangely blotchy? The reason isn’t magic, it’s fabric science, specifically how the grain and bias of your material behave.
We’ll break down the simple anatomy of woven cloth, covering the straight grain, cross grain, and bias, how bias influences drape and stretch, and why dye absorption varies along different grains.
Executive Summary: Why Grain and Bias Matter
Every piece of woven fabric has a built-in map. This map dictates how the fabric moves, absorbs color, and wears over time. The two most important lines on that map are the straight grain and the true bias.
The grain and bias primarily govern two things: shape and color.
For shape and drape, the straight grain provides stability and structure, while the true bias gives a fluid, graceful stretch. Think of a tailored blazer (cut on grain) versus a flowing bias-cut slip dress.
For dye and color, the alignment of threads changes how evenly dye molecules are absorbed. Dye travels differently along a yarn than it does across the spaces between yarns, which can lead to subtle variations in shade.
This foundational knowledge controls several everyday fabric behaviors:
- Pilling Direction: Pills often form along the weft (crosswise) grain first, as this yarn experiences more friction.
- Primary Shrinkage Axis: Most fabrics shrink more in width (along the weft) than in length (along the warp).
- Seam Strength: A seam sewn on the straight grain is far stronger and less likely to distort than one sewn on the bias.
- Color Saturation: Dye can appear slightly deeper or more vibrant when viewed along the length of the yarns (the warp) compared to across them.
Here is your guiding principle. Aligning your project with the grain gives you control. Working with the bias requires respect for its unique, flowing properties. Master both, and you master the fabric.
Fabric Grain 101: Your Map for Stability
Let’s get oriented. On a loom, threads are woven in two directions. The long, strong threads held under tension are the warp. They run parallel to the finished edges, called the selvage.
The warp gives a fabric its backbone, offering minimal stretch and maximum durability. The threads woven over and under the warp, from one selvage to the other, are the weft (or “filling”).
The weft has a little more give, as these threads take a looser, sinuous path between the taut warp yarns. The intersection of warp and weft at a perfect 90-degree angle is the “straight grain.” Your goal is to cut and sew along these lines for predictability, unlike knits which have a spiraling grain.
How to Find the Grain in Any Fabric
First, locate the selvage-the tightly woven, often slightly different edge. The warp runs parallel to it. But fabrics aren’t always cut perfectly straight from the bolt. You need to find and correct the grain before starting a project.
For sturdy woven plant fibers like cotton or linen, use the tear test. Make a small snip into the fabric about an inch from the cut edge, then firmly and evenly tear across. The fabric will tear cleanly along one thread, revealing a perfect crosswise grain line. You can then square your fabric using this line.
For delicate animal fibers like wool or silk, or for any fabric you can’t bear to tear, use the gentle pull test. Pull a single thread from the weft (crosswise) direction. Gently tug it loose and pull it out; it will create a visible pathway. This line, marked by the slight gap, is your true crosswise grain. Press the fabric flat along this line to realign it.
Grain Direction in Everyday Care and Issues
You see grain direction at work in common laundry problems. When a cotton t-shirt comes out of the dryer noticeably shorter, it has likely shrunk along the weft (width). The warp (length) often remains more stable.
Shrinkage primarily happens in the weft. A shirt that gets shorter but not narrower has shrunk along the crosswise grain.
Pilling follows a similar rule. On a well-worn pair of jeans, you’ll often see pills forming along the inner thigh, following the direction of the weft threads where the fabric rubs most.
For dyeing, the warp yarns are often coated with a starch or “sizing” to strengthen them for weaving. This sizing can act as a slight resist, causing warp threads to sometimes accept dye differently than the weft, leading to a subtle two-tone effect called “dichroism.” For the most even dye results, always pre-wash natural fibers to remove these finishes before applying color.
What is Fabric Bias? The Definition and Its Power
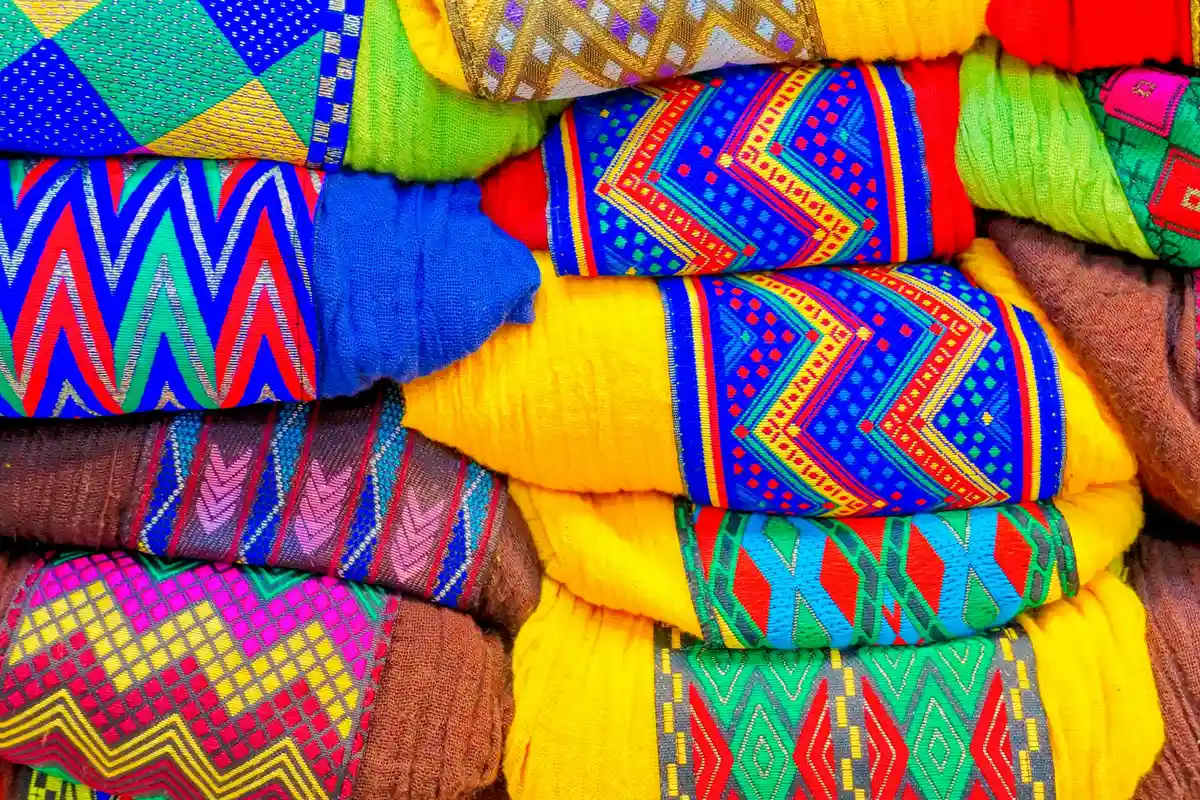
Fabric bias is the 45-degree diagonal line that runs between the warp and weft threads of a woven cloth. Picture a piece of standard cotton fabric. The threads running the long way are the warp. The threads running across are the weft. The bias is the diagonal line in between them, where the fabric has no structural threads running straight. These ideas define fabric grain—the warp, weft, and bias. They affect drape, stretch, and how patterns are laid out and sewn.
This diagonal direction gives the fabric its maximum, fluid stretch and elegant drape. It’s a different kind of stretch than what you get from a knit fabric. A knit stretches because its loops can expand. Bias stretch is a graceful give, a fluid movement that allows fabric to cling and flow over curves. This is the secret behind a “bias-cut” garment. When a dress is cut on the bias, it uses this natural fluidity to skim the body in a uniquely flattering way.
That incredible fluidity comes with a challenge. A bias edge has no stable threads to hold it in place. If you’re not careful during cutting, sewing, or washing, bias edges can stretch out of shape easily, distorting your entire project. I always handle bias-cut pieces flat and support them when sewing.
Fiber-Specific Guide: How Cotton, Wool, Silk, and Synthetics Behave
Not all fabrics treat their bias the same way. The fiber content and weave structure change everything. Here’s what you can expect from common materials and weaves.
Cotton & Linen (Plain Weave)
Think of a classic cotton broadcloth or linen. It has a crisp, stable grain. The bias is very obvious and prone to stretching if you pull on it while cutting. When washing, expect the highest shrinkage across the weft (width), which can slightly alter the angle of your bias. Pre-wash these fabrics the way you plan to wash the finished item. I recommend a warm machine wash and tumble dry low to account for typical 3-5% shrinkage before you ever cut a pattern.
Wool (Twill, Gabardine)
Wools like gabardine have a springy, resilient grain because of their twill weaves. They hold their shape wonderfully. The bias in a quality wool has beautiful recovery, springing back after stretching. The biggest threat to a wool garment’s bias drape is felting shrinkage, which occurs if you agitate it in warm water. Felting makes the fabric tighten and thicken in all directions, completely destroying the fluid bias. Always hand-wash wool in cool water with a mild soap, and never wring or rub it.
Silk (Charmeuse, Habotai)
Silk has a sleek grain and an extremely fluid, delicate bias. It’s what gives a silk slip dress its legendary drape. A unique caution with silk bias is that it can permanently “grow” or stretch out under the sustained weight of the garment itself. A long, bias-cut silk skirt might become longer over an evening of wear. To care for it, hand wash gently in lukewarm water with a pH-neutral detergent. Never twist it. Dyeing silk takes fiber-reactive or acid dyes beautifully, but the bias will absorb dye slightly faster, so vigilance for evenness is key.
Polyester & Nylon
Synthetic fibers are woven into very stable grains with minimal shrinkage, often less than 2%. The bias will stretch, but it has less natural recovery or “spring back” than wool or silk. Heat is the enemy of synthetic bias; a hot iron or dryer can permanently set a stretch or distortion into the fabric. Always use low heat. For dyeing, you must use disperse dyes and high heat, which makes even application on a large bias-cut piece a professional-level task.
Blends (Poly-Cotton)
Blended fabrics are a hybrid. The cotton component dictates where shrinkage will happen, primarily on the weft. The synthetic polyester modifies the bias behavior. You get more stability than pure cotton, but the bias stretch won’t be as lush or recover as well as in a natural fiber. Wash in warm water to allow the cotton to pre-shrink. The care label will usually guide you to a middle-ground temperature that accommodates both fibers.
How Grain Direction Changes Dye Absorption
Think of dye molecules as tiny passengers looking for a seat on a fiber. The warp threads, stretched tight on the loom during weaving, are like rigid seats packed closely together. The weft threads, woven through them, have a bit more room to breathe. This difference in tension and fiber alignment changes how easily the dye “sits down.”
The warp often absorbs dye a little slower and can appear a shade lighter. The weft, being less compact, might grab color more quickly and look slightly darker. In a finished garment, this is rarely noticeable. But in home dyeing, especially with large pieces, it can create subtle shading or barre stripes where the grains meet.
For the most even dye job, agitate the fabric constantly to ensure dye penetrates all grain lines equally. Constant movement stops the dye from settling into one area and helps it wick evenly into both the tight warp and relaxed weft.
Not all fabrics show this equally. Plant-based cellulose fibers like cotton and linen have a relatively open structure, so they tend to dye quite uniformly across different grains. Protein fibers like wool and silk, and most synthetics like polyester, are more finicky. Their molecular structure can interact with dye differently depending on fiber stress, making grain-related shading more likely.
Step-by-Step Care: Washing, Drying, and Ironing by the Grain
Your care routine must respect the grain to keep a garment’s shape. This is non-negotiable for bias-cut pieces, but good practice for everything in your closet.
Pre-Wash Protocol
Always pre-wash natural fabrics before you cut or sew. This removes the factory sizing (starch) and allows for initial shrinkage. For cotton, I use a warm machine wash. For linen, wool, or silk, I handwash gently in lukewarm water. Skipping this step on a bias-cut garment is a recipe for disaster-it will shrink and warp unpredictably after you’ve made it.
Machine Washing
A standard t-shirt cut on the straight grain can handle a gentle machine cycle. For anything with bias seams or a fully bias-cut silhouette, hand washing is the only safe choice. The agitation from a machine will tug that stretchy bias in all the wrong directions, causing permanent distortion. Use a mild detergent and avoid twisting or wringing.
Drying
How you dry a garment is just as critical as how you wash it. Straight-grain items can usually go in the dryer on low, though I prefer air drying for longevity. For bias-cut items, you must lay them flat on a drying rack or towel. Gently shape them to their original dimensions while damp. Never hang a heavy, wet bias-cut dress-it will stretch irrevocably. The weight of the water pulls directly on the diagonal stretch, lengthening the garment beyond repair.
Ironing
Your iron is a tool of heat, moisture, and pressure-powerful forces on fabric. Always iron with the grain, not against it or on the bias. Glide your iron along the lengthwise or crosswise threads. Ironing directly across the bias stretches the fabric instantly. For stubborn wrinkles on a bias section, hover the iron above and use plenty of steam, then smooth with your hands.
Handling Pro-Tip: Sewing and Mending on the Bias
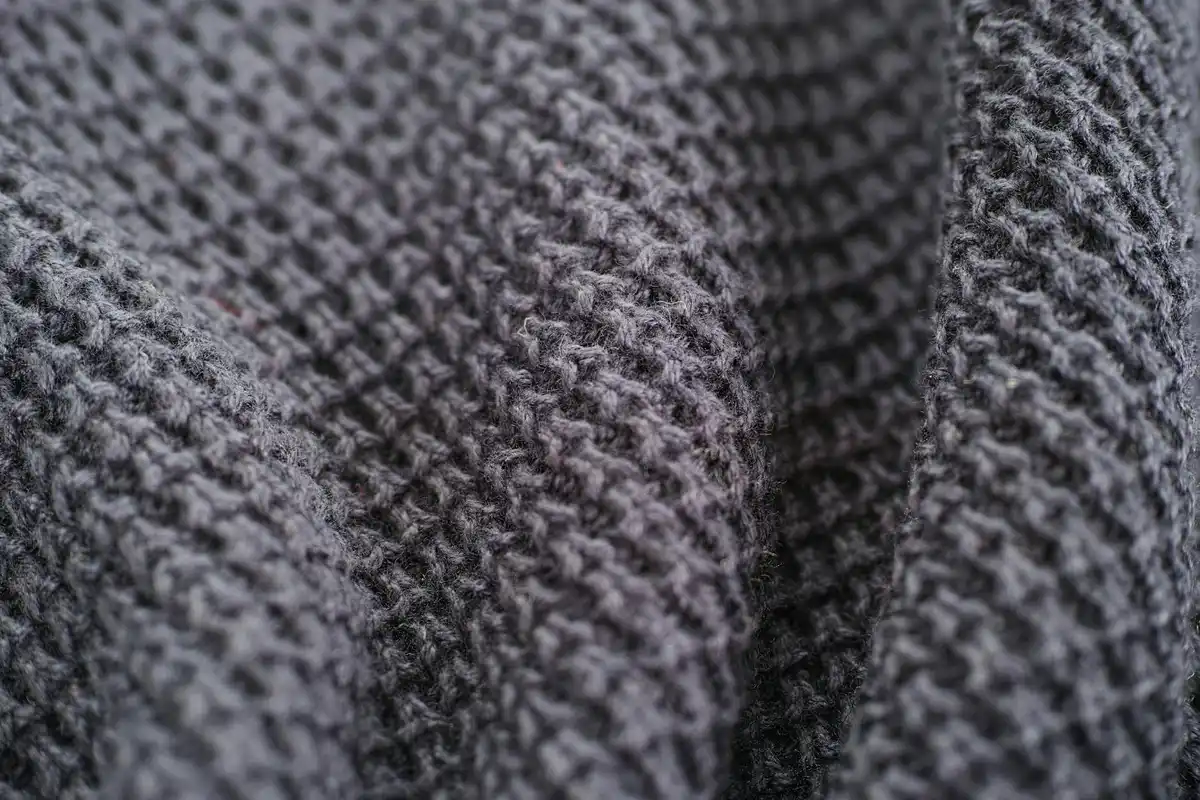
Working with the bias transforms fabric from a stable sheet into a responsive, living material. It demands a shift in technique. Here is how to manage that shift confidently.
Cutting on the Bias
Your goal is to cut the shape without letting the fabric distort under your tools. Pins can push and pull the unstable bias threads out of alignment as you cut. Pattern weights hold everything flat without pressure. I keep a set of smooth washers in my studio for this, especially when working with stretchy fabrics.
Use the sharpest tools you have. A rotary cutter on a self-healing mat is ideal for a clean, uninterrupted line. If using scissors, make long, decisive cuts. Short, choppy snips encourage the bias edge to stretch and ripple.
The right tools prevent distortion before you even make your first stitch, saving you from a misshapen piece.
Sewing on the Bias
A standard presser foot can stretch bias seams as it feeds the fabric, leading to wavy, puckered seams. A walking foot has feed dogs on top that move the fabric layers together, in unison. It’s the single best investment for sewing knits or bias cuts smoothly.
For very fluid or delicate fabrics like silk chiffon or a lightweight wool crepe, seams can still strain. Stabilize them with a 1/4-inch strip of lightweight, temporary tape. Silk organza tape is perfect-it’s sheer and strong, and you can tear it away or leave it in. For a more accessible option, a narrow strip of water-soluble stabilizer works well too.
Controlling the feed of the fabric is the secret to flat, professional-looking bias seams.
Mending a Bias Tear
A tear on the straight grain can run along a thread line like a zipper. A bias tear is different. Because the threads are at an angle, the tear has no clear path to follow; it typically stops on its own.
This doesn’t make it easier to fix, just different. If you patch it with a square of fabric cut on the grain, the patch won’t move with the surrounding bias fabric. It will pull and pucker. You must cut your patch on the same 45-degree bias.
Match the fabric type and weight as closely as possible. Hand-stitch the patch using a small, flexible stitch like a ladder stitch, working with the stretch, not against it. It helps to understand the right stitches for stretch fabrics.
A bias-cut patch moves with the garment, making the repair both strong and invisible during wear.
The Final Test: Let it Hang
After constructing a bias-cut garment, never hem it right away. The entire piece needs to relax into its intended drape. Hang it on a padded hanger for a full day. For a skirt, hang it from the waistband.
You will often see the hemline drop slightly, sometimes unevenly. This is the bias stretch settling in. Trim and hem only after this process is complete. I learned this the hard way with a silk satin skirt that developed a distinct dip at one side after its first wearing.
Allowing a bias garment to find its natural hang is the final, non-negotiable step for a perfect fit.
Putting Grain and Bias Knowledge into Practice
For predictable dye jobs and stable silhouettes, treat the fabric’s straight grain as your true north during every wash, dye, and cut. I always pre-shrink material and mark the grainline with a basting stitch; this simple act prevents surprise bias distortion and guides even dye penetration. That foundation also helps you prepare for dyeing and troubleshoot common issues. You’ll get reliable, repeatable color results.
Extend the life of every textile by matching your care—whether for cotton, wool, silk, or synthetics—to its specific shrinkage, dye affinity, and washing needs. Your continued exploration of fabric science is a direct investment in a wardrobe that lasts, reducing waste and honoring the resources in every thread.
Expert Resources and Citations
- r/dyeing on Reddit: Anyone know how to fix this patchy dye job??
- I just dyed in my washer and the fabric came out with uneven color. What caused this? – Rit Dye
- Fabric color uneven after washing sewing discussion topic @ PatternReview.com
Florian is a high fashion blog writer, fashion and fabric expert and a keen expert in fabric, clothing and materials. She has worked in large textile and fashion houses for over 10+ years, engineering and working with various fabric types and blends. She is an expert when it comes to questions on any and all kinds of fabrics like linen, cotton, silk, jute and many more. She has also traveled around the world studying traditional fabrics and aims to bring them into the modern fashion use.