
What Is Silk Screen Printing, and How Does It Really Work?
You see silk screen prints everywhere, from band tees to tote bags, but how does ink get locked onto fabric so durably? I can tell you it’s less about silk and more about precise, controlled physics.
In this guide, I’ll share a textile scientist’s view of the process, breaking down the hands-on techniques. We will cover the core screen printing steps, the different types of inks and their behaviors on fabric, and how screen printing compares to other common methods like digital printing.
Executive Summary: Your Quick Guide to Screen Printing Fabrics
Silk screen printing, often just called screen printing, is a hands-on method for decorating fabric. It uses a fine mesh screen as a stencil to push thick ink directly into the textile’s fibers.
The standout benefit is a print that lasts, with intense colors that become part of the fabric itself, not just a layer on top. This bond is why a well-printed t-shirt can survive hundreds of washes while the garment fabric wears out around it.
It feels different than other common methods. Unlike digital printing, which can sit on the fiber surface, screen printing ink is physically pushed into the weave. Compared to a heat transfer vinyl, a quality screen print won’t have a plastic-y feel or crack over time; it becomes one with the cloth.
The method has clear strengths and trade-offs.
- Pros: Unbeatable color opacity, especially on dark fabrics. Extreme durability and wash-fastness. Works on a vast range of textiles from cotton to polyester.
- Cons: Requires screen and stencil setup for each color, making small runs less cost-effective. While sharp, it’s not the best for printing photorealistic images with thousands of colors on delicate fabrics.
Your fabric choice isn’t a minor detail; it’s the most critical factor for the whole process. A 100% cotton tee, a 50/50 poly-cotton blend, and a silk scarf will each demand a different ink type, curing method, and care routine after printing.
The Textile Science Behind the Screen: How Ink Meets Fiber
The core principle is simple: a stencil blocks parts of a mesh screen. You push ink with a squeegee through the open mesh, and it deposits onto the fabric below. The magic is in the details of that deposit.
I think of the two main ink families like paint versus stain for a wooden deck. Plastisol ink, the workhorse for cotton and polyester blends, acts like paint. It’s a PVC-based paste that sits on the fiber surface. You cure it with high heat (around 320°F), which melts the plastic particles into a smooth, flexible film. It’s durable and vibrant, but you can often feel its slight texture.
Water-based and discharge inks work more like a stain, soaking into the cotton fibers to bond chemically. They use water as a carrier. Discharge ink even removes the garment’s original dye to replace it with a new color, which is crucial when considering fabric dyes’ permanence. The result is a print with a much softer hand—you feel the fabric, not the ink. They work best on natural fibers.
The fabric’s construction changes everything. A tightly woven poplin provides a smooth, stable canvas for crisp details. A loose, slubby knit can cause ink to spread slightly, giving a softer, vintage look. Synthetic fibers like polyester require specific ink additives or higher cure temperatures for the ink to properly adhere without cracking. These weave and material differences shape the fabric surface and how ink is absorbed and cured. Understanding them helps predict print results across different textiles.
The final “hand” or feel of your printed fabric depends entirely on this trio: the fiber content, the ink chemistry, and the weave structure. Choosing the right combination is the true art of the process.
How Do You Do Silk Screen Printing? A Step-by-Step Guide
Let’s walk through the process. Think of it like making a very precise, reusable stencil and then using it to push ink directly onto fabric. I’ll guide you through each stage I use in my own workshop.
Step 1: Design and Stencil Creation
This is where your idea becomes a physical guide for light. You start with a bold, high-contrast image. This image must be opaque black on a clear background, which acts as a “positive” for the next step.
You can create this stencil film in two main ways. The classic manual method uses a knife to cut your design from a special red film. The digital method, which I use most often, prints the black design onto clear acetate using an inkjet printer. The goal is the same: a perfect, opaque barrier to light.
Step 2: Screen Preparation and Exposure
Now we make the screen itself. The “silk” in silk screen is usually a synthetic polyester mesh stretched tightly over a frame. You coat this mesh with a liquid, blue light-sensitive emulsion in a thin, even layer and let it dry in the dark.
Once dry, you lay your opaque film positive flat against the coated screen. You place it under a bright UV light source. The light passes through the clear parts of your film and hardens the emulsion underneath. The black parts of your design block the light, leaving those areas soft and water-soluble. This exposure step chemically etches your design into the screen’s coating.
Step 3: Washout and Setup
After exposure, you take the screen to a sink and spray it with a gentle stream of water. The magic happens here. The soft, unexposed emulsion (under your black design) washes away, leaving open mesh. The hardened emulsion everywhere else stays put, sealing the mesh.
You now have your finished screen: open holes where ink will pass through, blocked areas where it won’t. You then clamp this screen securely onto a hinge above your printing board. You tape the edges to prevent ink leaks. Place your fabric flat on the board beneath the screen. Alignment is key here, especially for multi-color prints.
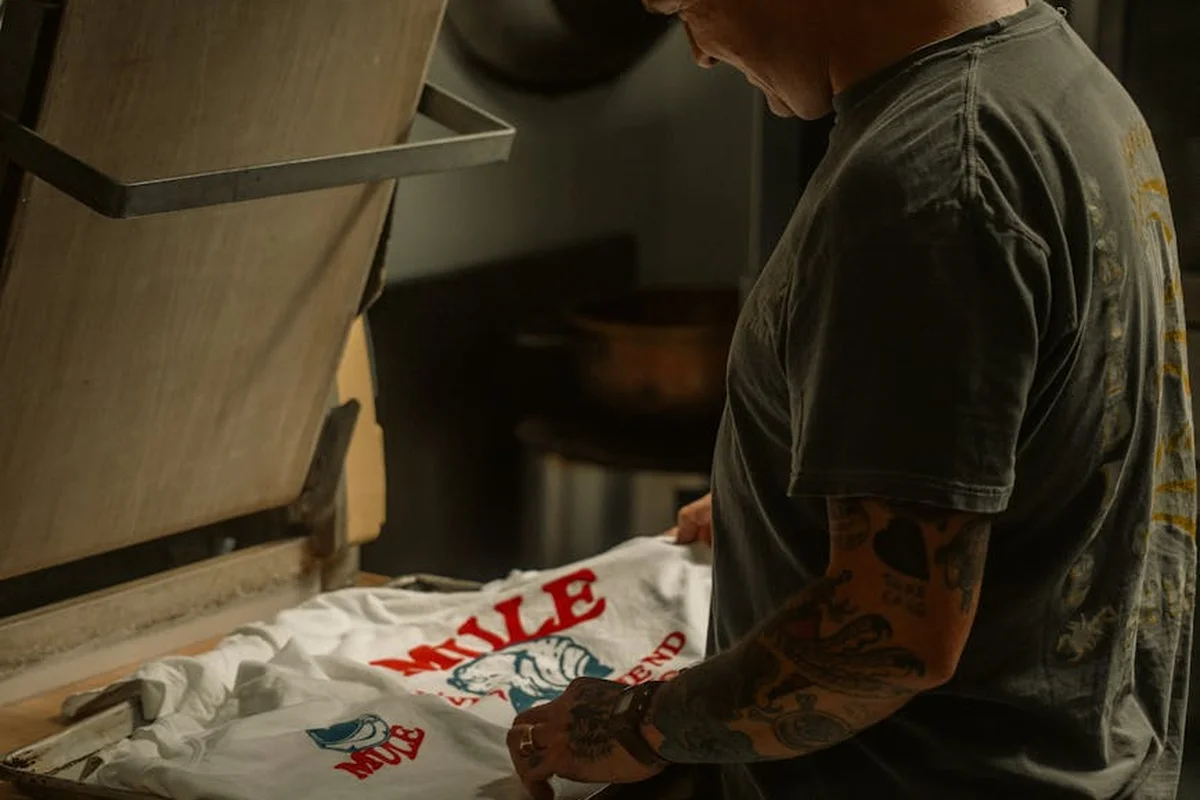
Step 4: Printing (The Squeegee)
This is the satisfying part. Pour a line of ink along the top edge of your screen, inside the frame. With the screen down touching the fabric, you first make a “flood” stroke. You pull the ink across the design to fill the open mesh without pressing it through.
Then, you apply firm, even pressure and make your print stroke. The squeegee forces the ink through the open mesh and directly onto the fabric in one clean, sharp pass. Lift the screen, and your print is revealed. The ink sits wet on the surface, waiting for the final step.
Step 5: Curing the Ink for Permanence
This step is what makes a shirt last for years instead of one wash. Curing is not just drying; it’s using heat to chemically bond the ink to the fabric fibers.
Each ink type has a specific temperature and time. Plastisol ink, common on cotton tees, needs about 320°F (160°C) for a minute. Water-based inks often need higher heat. I use a conveyor dryer for consistency. At home, a heat press works well, or you can carefully use an iron (place parchment paper over the print). You must match the cure to your fabric: polyester melts and scorches at lower temperatures than cotton, so you need lower heat or less time. For warmer blends like wool-polyester-cotton, heat control is even more critical. Start with lower temperatures and shorter times, then test a small area.
Common Silk Screen Printing Techniques Explained
The basic process stays the same, but changing the ink or the stencil creates different effects. The fabric you choose matters just as much as the technique.
Spot Color Printing
This is the standard. You use solid, opaque inks, one color per screen. It’s perfect for crisp logos and bold graphics. The ink sits on top of the fabric.
For the cleanest edges, use a fabric with a smooth, tight weave like cotton poplin or a polyester twill. A loose, textured knit can cause the ink to spread into the little valleys of the fabric, making details fuzzy.
Halftone Printing
Want to print a photograph or a gradient? You use halftones. This technique breaks down a continuous-tone image into a pattern of tiny dots. From a distance, your eye blends them into shades.
The size and spacing of the dots create the illusion of light and shadow. Be aware that a textured fabric like linen or a slub cotton will interact with the dot pattern, giving the print a grainy, organic feel that can be beautiful or distracting.
Discharge Printing
This is a favorite of mine for its soft feel. Discharge ink doesn’t just sit on the fabric; it contains a chemical agent that removes (discharges) the original dye of the garment in the printed areas. It often replaces it with a new, lighter color.
The fabric science here is absolute: discharge only works on cellulosic fibers like cotton, rayon, or linen that have been dyed with reactive dyes. It will not work on polyester, acrylic, or on garments dyed with pigments. The result is a print that feels like part of the shirt, with no stiff hand.
Process Printing (CMYK)
Similar to your home printer, this uses four translucent ink colors-Cyan, Magenta, Yellow, and Black-overlapped to create a full spectrum. Each color needs its own perfectly aligned screen.
It works best on very smooth, white or light-colored fabrics to allow the colors to show truly. This technique requires extreme precision in screen alignment, known as registration, and a very stable fabric that won’t shift during printing.
What Fabrics Work Best for Screen Printing? A Fiber-by-Fiber Guide
The right fabric makes your print. The wrong one ruins it. This isn’t just about feel or color. It’s about chemistry and physics. Your ink must bond with the fiber’s surface. The fabric must withstand the process, from the tension on the screen to the heat of the dryer. Let’s break it down by fiber, starting with the science of adhesion, shrinkage, and care.
Cotton & Cotton Blends (The Standard)
Think of a cotton fiber under a microscope. It looks like a twisted ribbon. This structure and its natural cellulose content give it a perfect, slightly rough texture for ink to grip. 100% cotton fabrics like crisp poplin, stretchy jersey, or plush terry cloth are the ideal partners for most inks, especially water-based and discharge formulas. The ink soaks in slightly and cures into a durable bond.
But cotton shrinks. I’ve seen prints warp because someone skipped this step. You must pre-wash your fabric to prevent shrinkage. Wash and dry it exactly how you plan to care for the final garment. For a standard cotton tee, expect 3-5% shrinkage in the first hot wash. Do that step first, then print.
Cotton-polyester blends, like a 50/50 tee, change the game. The synthetic polyester is smoother and hydrophobic (it repels water). This makes blends less prone to shrinkage and often easier to print with plastisol ink, but it can cause water-based ink to “sit” on the surface and not bond well, leading to cracking. If you use water-based ink on a blend, you’ll likely need additives or a hot cure to force adhesion.
Polyester & Performance Synthetics
Printing on polyester or nylon is a different science. These synthetic fibers are essentially tiny plastic rods. Standard inks slide right off. You need inks formulated for them. Low-cure plastisol is common. Sublimation ink, which turns into a gas and dyes the fiber itself, is the gold standard for all-over prints on white polyester.
The biggest risk is dye migration. Here’s what happens in the dryer: the heat excites the dye molecules *already in the polyester fabric*. They can move right through a cured plastisol print, creating a ghostly stain. To prevent dye migration, always use a specialty “blocker” base ink on dark polyester, or simply print on white or very light-colored synthetic fabric where there’s no dye to migrate.
Nylon behaves similarly. It’s sleek and strong, but you must use inks made for it. Always test a swatch first. Heat can also damage or melt these synthetics, so precise temperature control during curing is non-negotiable. Whether you’re printing, heat pressing, or treating nylon fabric, these cautions still apply. Following tested inks and strict temperature control helps ensure lasting results.
Silk & Other Delicate Protein Fibers
If you choose to work with silk, please source it ethically. Look for suppliers committed to animal welfare and sustainable practices, like peace silk where the moth is allowed to emerge. This aligns with mulberry silk quality standards ethics and helps ensure transparent sourcing.
Silk is a protein fiber, smooth and incredibly delicate. It watermarks under droplets and distorts with too much tension on the printing platen. Screen printing on silk requires a gentle hand, low-tack adhesives to hold it in place, and specialized, gentle dyes like fiber-reactive pigments or acid dyes. Different silk fabrics—charmeuse, crepe de chine, satin, and chiffon have distinct properties and care needs. The squeegee pressure must be light and even. I often use a softer durometer squeegee than I would for cotton.
Wool is even more challenging for screen printing. Its scaly surface doesn’t accept pigment evenly, and the heat and moisture involved can cause felting-where the fibers permanently mat together. I don’t recommend wool for beginner screen printers.
Fabric Preparation Protocol
This step is the difference between a professional print and a mess. Never print on fabric straight from the store.
- Wash and Dry: This removes sizing (a starch applied for crispness) and factory finishes that repel ink. Use a mild detergent, no fabric softener. Dry completely.
- Press: Iron the fabric smooth. Any wrinkle creates a tiny gap between the screen and fabric, resulting in a blurry or missing spot in your print. A flat, smooth surface is critical.
This preparation answers the core question of how you do silk screen printing successfully. It’s all about creating a perfect, receptive foundation—especially when sewing raw silk to avoid any seam slippage.
The Screen Printed Garment Care Protocol: Washing, Drying, Ironing
Your care routine determines how long your print lasts. Treat it like part of the process. Here is a science-based protocol to keep prints vibrant and fabrics intact.
Initial Care: The First Wash
Patience is key. Inks need time for their chemical cure to complete, even after heat-setting. Wait a full 48 to 72 hours after printing before the first wash to ensure the ink is fully stable. For that first wash and every wash after, turn the garment inside out. This simple act protects the printed surface from direct abrasion against other clothes and the drum of the machine.
Washing Step-by-Step
- Water Temperature: Use cold or warm water (max 30°C/86°F). Hot water is a triple threat. It can soften plastisol, degrade the polymers in water-based inks, and re-activate dye migration risks in polyester blends.
- Detergent: Choose a mild, color-safe liquid. Avoid heavy enzymatic formulas, oxi-cleaners, or bleach. These chemicals break down the bonds in both the ink and the fabric dye over time.
- Cycle: Select the gentle or delicate cycle. Aggressive agitation (like a heavy-duty cycle) physically stresses the print layer, leading to cracking, especially on stretchy jerseys.
Drying and Ironing
Heat is the enemy of longevity. Air drying flat is always the best method for preserving a screen print. If you must use a dryer, choose the lowest heat setting possible. Tumble dry on low.
If you need to iron, always turn the garment inside out. Use a medium heat setting. Never let the iron plate touch the printed surface directly, as it can melt or gloss the ink. For water-based prints on cotton that feel slightly tacky, ironing from the inside with a hot iron can sometimes help re-melt the binder and set the print.
Troubleshooting Common Issues
When something goes wrong, here’s how to diagnose it.
- Cracking: The print develops fine cracks. This is usually a mechanical failure. Causes include an ink deposit that’s too thick and inflexible on a stretchy fabric, improper curing, or repeated harsh washing/agitation. It’s very hard to fix; prevention is your only real tool.
- Fading: The print loses color vibrancy. This is often chemical or photolytic degradation. The culprits are harsh detergents, frequent washing, or prolonged exposure to direct sunlight (UV radiation). Choose inks rated for high wash- and light-fastness for items like outdoor wear.
- Bleeding/Running: Color seems to blur or run from the print. First, re-wash it. If it stops, it was likely residual, uncured ink. If the stain persists or worsens (often taking on the hue of the garment itself), it’s dye migration from the fabric. This is a fabric dye issue, not a print failure, and it’s preventable at the printing stage with blockers.
Your Print’s Longevity Starts With Fiber Knowledge
Treat every printed garment according to its base fabric, not just the design on top. I always wash cotton and linen prints inside-out in cool water, while polyester blends can handle a warmer wash to really lock the pigment in. For dye-delicate fabrics washing, I keep the cycle gentle and water cold to minimize color loss, and I use a mild detergent to prevent pigment bleed.
Think of yourself as a textile archivist for your own wardrobe; learning how fibers like wool, silk, or nylon react to heat, agitation, and pH is the key to preserving any print. Repair a loose thread, choose a gentle detergent, and you actively reduce waste while keeping your favorite pieces in rotation for years.
References & External Links
- Screen printing – Wikipedia
- The silk screen printing process outlined in just 7 steps
- How to Silk Screen : 7 Steps – Instructables
- What is Silkscreen Printing – HarmstonArts
- Screen Printing: How It Works, Benefits & Applications | Ynvisible
- Silk Screen Printing: From Fabric to Fine Art | HowStuffWorks
Florian Ventura
Florian is a high fashion blog writer, fashion and fabric expert and a keen expert in fabric, clothing and materials. She has worked in large textile and fashion houses for over 10+ years, engineering and working with various fabric types and blends. She is an expert when it comes to questions on any and all kinds of fabrics like linen, cotton, silk, jute and many more. She has also traveled around the world studying traditional fabrics and aims to bring them into the modern fashion use.