
How Do You Iron and Dye Tencel and Lyocell Fabrics Safely?
You might love the sleek feel of your Tencel blouse but worry a hot iron will glaze it or that dye will just wash out. I test these fabrics in the lab, and with a few mindful steps, you can handle both tasks confidently.
I will explain the science behind these fibers and give you my hands-on methods. We will cover their unique sensitivity to heat and moisture, the precise iron temperature and steam method, selecting fiber-reactive dyes, and locking in color while preventing shrinkage.
Executive Summary: Your Tencel and Lyocell Quick-Start Guide
Let’s clear up the name first. Tencel is a brand name for fibers made by the company Lenzing. Lyocell is the generic name for the type of fiber. Think of it like Band-Aid versus adhesive bandage. Both Tencel and generic lyocell are regenerated cellulose, meaning they start as wood pulp and are transformed into a soft fiber through a manufacturing process.
These fabrics have won hearts for good reason. They are incredibly soft with a fluid, drapey quality that feels luxurious against the skin. The fibers are breathable, making them great for clothing, and the modern lyocell process is notably sustainable, recycling most of its non-toxic solvent. Unlike many other plant-based fibers, lyocell is actually stronger when wet, which is a huge bonus for washing.
But they have a few quirks you must respect. They are prone to holding onto wrinkles, especially if left damp in the dryer or washer. They require a gentler approach to washing and drying than, say, cotton. Most critically, they are sensitive to high, direct heat.
So, can you iron and dye them? Absolutely. The direct answer is yes, you can safely iron and dye Tencel and lyocell fabrics with the right technique. It’s all about managing heat and moisture.
Compared to cotton, lyocell can’t handle as much ironing heat. Compared to its cousin rayon or viscose, it is much less likely to stretch out or tear when wet during dyeing or washing, thanks to that wet strength.
What Are Tencel and Lyocell, Really? The Fiber Science
The magic is in the process. Lyocell is made in a “closed-loop” system. Wood pulp is dissolved in a non-toxic solvent, pushed through fine holes to form filaments, and then the solvent is recovered and reused. I’ve toured these mills; the efficiency is impressive. This contrasts sharply with traditional rayon/viscose, which uses a more chemical-heavy process that’s harder on the environment.
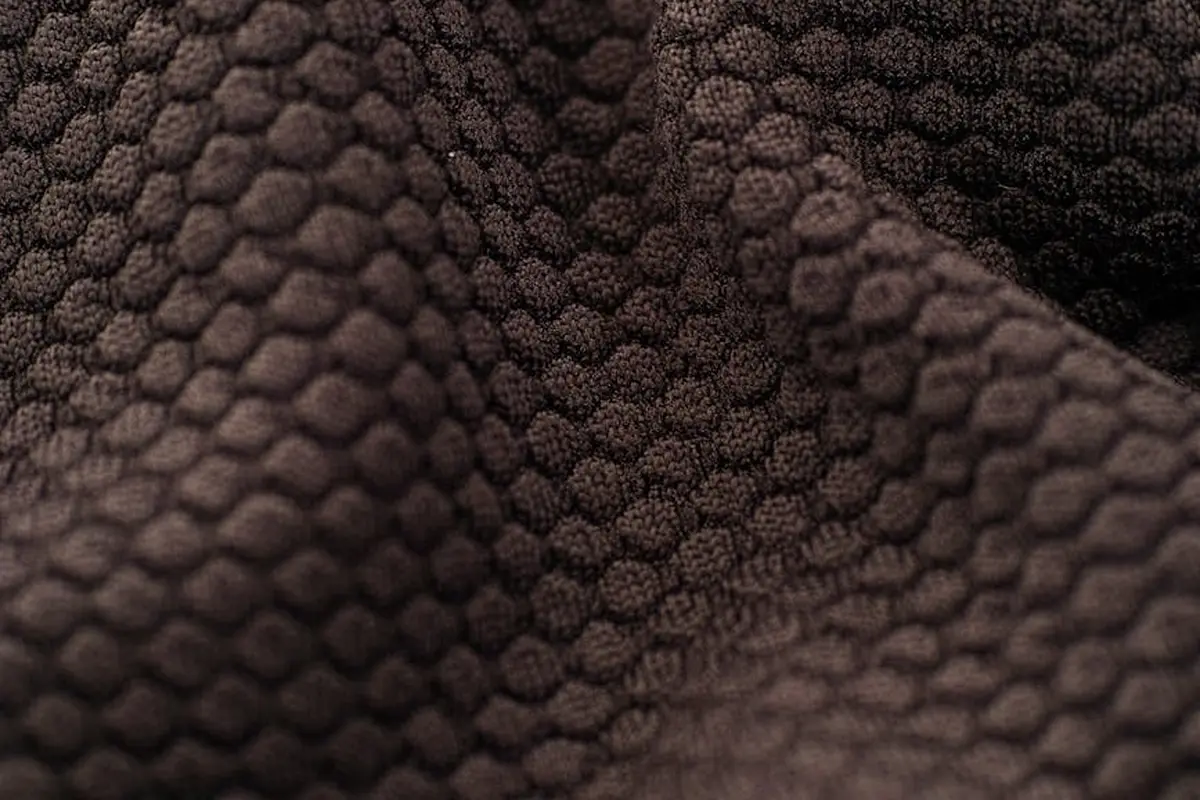
Under a microscope, lyocell fibers are smooth and round. This physical structure is what gives the fabric its signature sleek hand and subtle, natural luster. There are no rough scales like wool or natural convolutions like cotton, just smooth filaments that glide against each other.
At the molecular level, it’s pure cellulose, just like cotton or linen. This is the key to everything. Because it’s cellulose, it loves water (hydrophilic), absorbs dye beautifully with the right dyes, and breathes well. Its water absorption is even more organized than cotton’s, which contributes to its strength when saturated.
You’ll find lyocell in several common fabric types. Woven sateen gives a silky feel, twills offer more structure for pants, and jersey knits make stunningly drapey t-shirts. There are also linen-like weaves that mimic the texture but not the stiffness of true linen.
Typical uses leverage its drape and comfort. I see it used expertly in flowy dresses, elegant blouses, soft bedding sheets, durable denim blends, and even in performance activewear for its moisture-wicking properties.
The Essential Care Protocol: Washing and Drying First
Think of washing as the reset button for your fabric. Always wash Tencel or Lyocell before you iron or dye it to strip away factory finishes and let the fibers relax to their natural size. Skipping this step is the most common mistake I see in my studio.
For a gentle wash, use cool to lukewarm water and a mild, liquid detergent. The gentle or delicate cycle on your machine is perfect. I never use fabric softener. It coats these fibers in a waxy residue that blocks dye absorption and can actually make ironing more difficult later.
You will see minimal shrinkage, usually less than 5%, if you stick to cold water. The real risk with heat and rough agitation isn’t just getting smaller, it’s a problem called fibrillation. This is when the fiber’s surface breaks into tiny micro-hairs, creating a fuzzy, worn-looking texture. Fibrillation is the main reason your Tencel garments can look old before their time if washed too harshly.
Drying is simple. You can lay the fabric flat to dry, which is gentlest. For machine drying, use the permanent press or low heat setting. The moment it’s dry, take it out. Never over-dry it. That blast of hot air when the drum is empty is a major cause of that unwanted fuzz.
Here is my favorite pro-tip. When wet, Tencel and Lyocell are at their strongest, which is great for the dye pot. But that wet strength is deceptive. The fabric is also heavier and more prone to stretching if you tug on it. Handle wet fabric with support, like cupping it in your hands, to avoid permanent pulls and distortions.
How to Iron Tencel and Lyocell Without Damage
Yes, you can absolutely iron lyocell and Tencel. I do it all the time. The single rule you must follow is to control your iron’s temperature with precision. These are cellulose fibers, much like cotton or linen, but they are more sensitive to high heat.
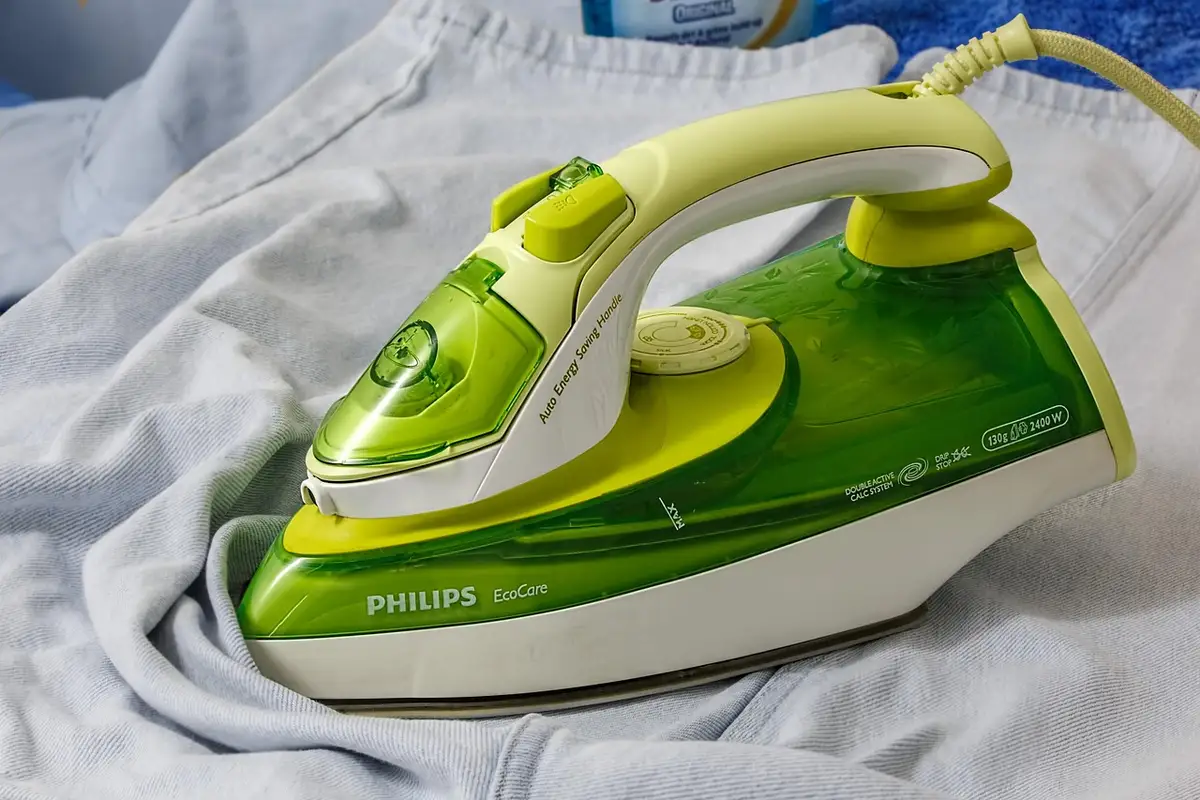
Set your iron to the “Low” or “Silk” setting. This is typically around 275°F (135°C). If your iron uses dots, the one-dot setting is your target. Start here. You can always apply a little more heat if needed, but you can’t undo a scorch mark.
The damp versus dry debate has a clear winner. Iron the fabric while it is still slightly damp from the wash, or use your iron’s steam function generously. The moisture helps relax the fibers, allowing wrinkles to fall out with less heat and pressure. If the fabric is bone-dry, you’ll need to use a lower heat setting and a pressing cloth, and you may still fight with stubborn creases.
My proven technique has three parts. First, turn the garment inside out and iron on the reverse side. For the right side, always use a clean cotton press cloth between the iron and the fabric. Finally, use a smooth, gliding motion. Let the heat and weight of the iron do the work. Don’t press down hard or scrub back and forth.
High heat is the enemy. Excessive heat can scorch the fibers, creating brown or yellow marks, or even melt them slightly to create a stiff, glazed patch that shines unnaturally. If you see any change in the fabric’s color or texture, stop immediately. You’ve gone too hot.
Preparing Tencel and Lyocell for Dye Success
Before a single drop of dye touches your fabric, proper preparation is non-negotiable. Think of Tencel and Lyocell like a thirsty sponge. If one spot is dry, it won’t drink the color evenly. Ensuring even dye soaking is crucial for a uniform look.
The single most important step is to scour your fabric in a hot machine wash with a mild detergent. This removes any invisible finishes or oils applied during manufacturing that would block the dye. Your fabric must start perfectly clean and uniformly wet. These steps lay a solid foundation for dyeing. In the next steps, you’ll see how to prepare and troubleshoot fabric dyeing to ensure even, predictable results.
These fibers are a type of cellulose, just like cotton. For permanent, wash-fast color, you need a fixative. For fiber reactive dyes, that fixative is soda ash (sodium carbonate). It creates the high-pH environment needed for the dye to form a covalent bond with the fiber. This isn’t a coating. It’s a molecular handshake.
To avoid waste and ensure color depth, calculate your dye based on the dry weight of your fabric. Use a kitchen scale. A common starting point is 2-3% of the fabric’s weight for a medium shade. For 100 grams of dry fabric, you’d use 2-3 grams of dye powder.
Prepare your space like you mean it. Dye is a committed artist. Cover your counter with plastic sheeting or a garbage bag, wear nitrile gloves, and dress in clothes you don’t mind staining. Have all your tools ready before you mix.
Here is my lab-tested pro-tip. After the initial wash, give your fabric a final warm water soak with a tiny splash of mild liquid soap for about 20 minutes. This guarantees every fiber is fully wetted out and relaxed, setting the stage for perfectly even color.
The Dyeing Process: Choosing and Applying Color
So, what dye actually works? For vibrant, professional, permanent results on Tencel and Lyocell, fiber reactive dyes are the gold standard. I use Procion MX dyes. They bond directly to the cellulose chain.
You might see “all-purpose” dyes at the craft store. These are weaker direct dyes that merely sit on the fiber. They will produce pale, uneven color on these smooth fibers and wash out quickly. Natural dyes can work, but they require a potent pre-mordant like alum to have any chance of sticking, and the colors will often be muted. Even with mordants for natural dyeing, the results can be unpredictable.
Let’s walk through a basic fiber reactive dye bath. First, dissolve your measured dye powder in a little warm water. In a separate bucket, dissolve your soda ash in warm water (about 1 cup of soda ash per gallon of water). Submerge your pre-soaked, wrung-out fabric into the plain warm dye bath. Let it soak for 10 minutes, then slowly pour in the soda ash solution. This two-step method helps prevent uneven spots.
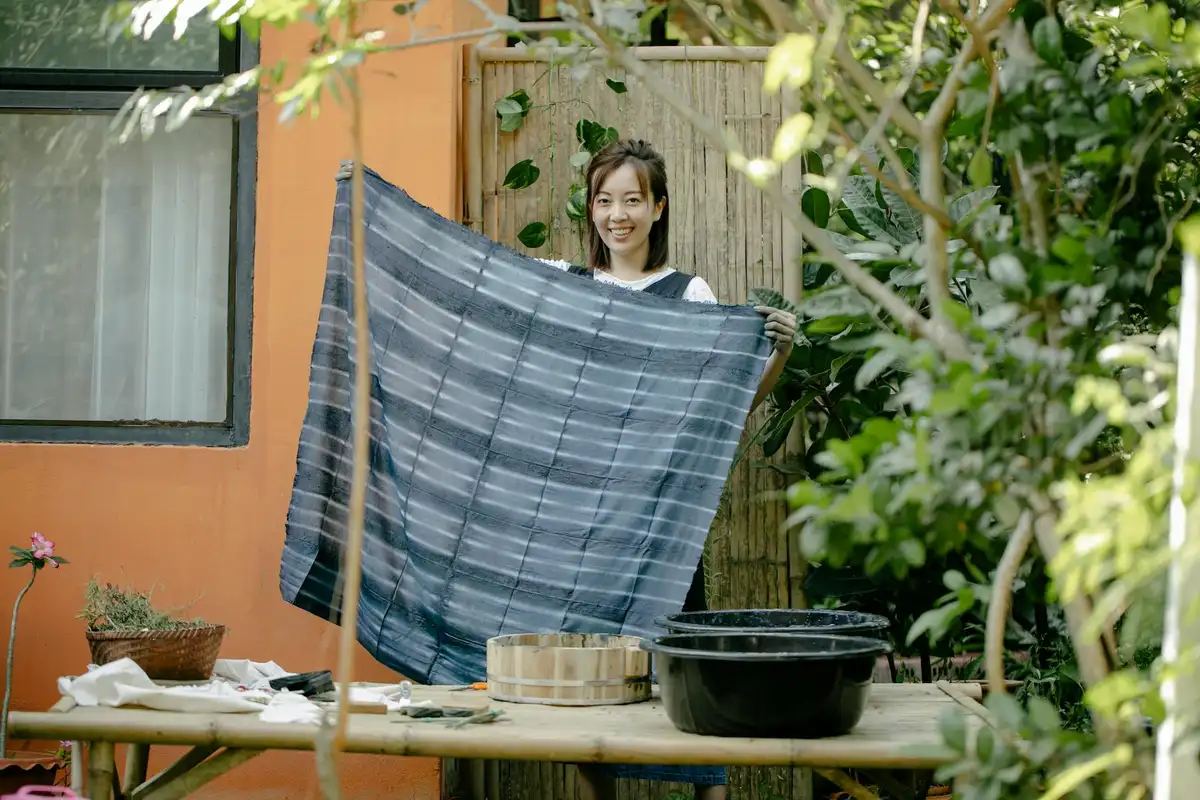
Agitation is the enemy of even solids. Stir gently only once or twice to incorporate the soda ash. Then, let the fabric batch. For a deep, solid color, let it sit for 1 to 2 hours at room temperature, or up to 24 hours for the most intense shades possible. The reaction is mostly done in the first hour, but patience pays off.
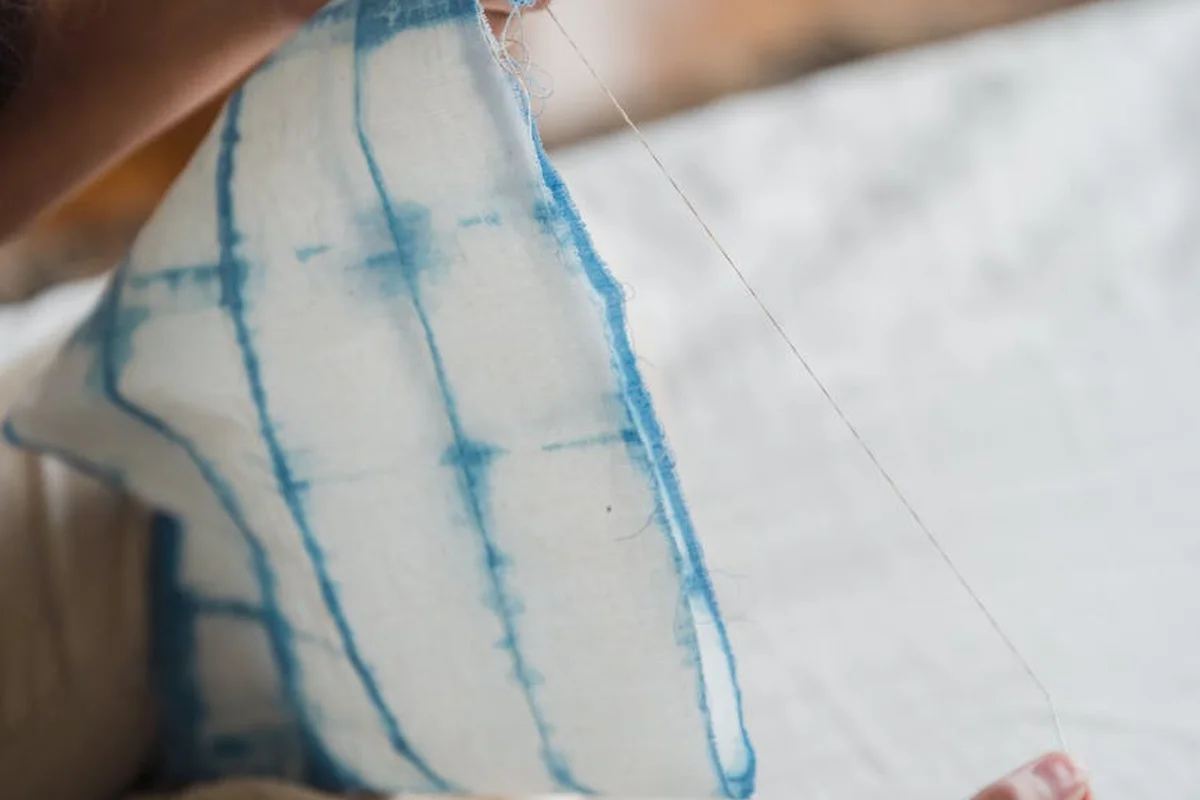
For tie-dye, the process shifts. Bind your damp, pre-washed fabric with rubber bands or string. Apply your dye mixtures directly to the bound areas. Once dyed, place the entire piece in a plastic bag to keep it damp. It must now batch for a full 24 hours at room temperature to allow the dye to fully react in all those folded, compressed sections.
Setting and Aftercare for Dyed Fabrics
Think of setting the dye as letting glue dry completely. The chemical bond between the fiber-reactive dye and the cellulose in your Tencel needs time and the right conditions to cure properly. This process is called batching.
After adding the soda ash and dye, you must let the fabric rest, covered, for a minimum of 4-8 hours at room temperature; I often batch mine for a full 24 hours for the most saturated, permanent colors. A warmer room (above 70°F) will help the reaction along, but avoid direct heat sources which can dry the fabric out unevenly.
The Steam Set vs. Wet Set Debate
You might hear about professional steam setting. This uses pressurized steam to fix dyes in minutes, but it requires specialized equipment and precise control. For us home dyers, the wet set method-that long, patient soak-is the standard and reliable approach. Stick with what works.
How to Rinse Your Dyed Fabric
A thorough rinse is non-negotiable. Any loose dye left in the fibers will bleed later, ruining your work.
- Start Cold: Gently squeeze out the dye bath and rinse the fabric in cool water. The water will run very dark.
- Gradually Warm Up: Slowly increase the water temperature to lukewarm, then warm, continuing to rinse. You’re coaxing the unbonded dye molecules out.
- Rinse Until Clear: Keep going until the water runs almost completely clear. This can take 10-15 minutes of steady rinsing.
- The Final Wash: Wash the fabric alone in your machine (or a clean tub) with a small amount of a pH-neutral, dye-trapping soap like Synthrapol. This final step grabs the last bits of loose dye.
For the first three to five washes, always launder your dyed Tencel item separately in cool water with a mild detergent. This prevents any tiny residual dye from staining other clothes. After that, you can wash it with similar colors. For ongoing care, follow the wash, dry, care guidelines for Tencel Lyocell to help maintain color and softness over time.
To test your work, press a damp white cotton cloth against a damp area of your dyed fabric with a warm iron for 10 seconds. If you see no color transfer onto the white cloth, your dye is properly set. This simple color fastness test gives you real confidence before wearing or sewing.
Troubleshooting Common Ironing and Dyeing Issues
Even with care, things can go sideways. Here’s how to diagnose and fix common problems.
Problem: Fabric is Stiff or Fuzzy After Washing
This is fibrillation-where tiny micro-fibrils on the fiber surface get agitated and tangle. For wearables, add a gentle fabric conditioner to the final rinse cycle to smooth the fibers. For craft or quilting projects where you want body, a light spray of diluted liquid starch works wonders.
Problem: Uneven or Splotchy Dye Results
This almost always traces back to the beginning. The fabric must be uniformly pre-wetted and should soak in the dye bath freely, without tight folds. If you have splotches, the most reliable remedy is to overdye the entire piece in a darker shade. The darker pigment will cover the inconsistencies. Bleaching time before dyeing can affect how evenly the color takes, so a brief, controlled pre-bleach step often helps ensure a smoother result. Fine-tuning that timing will give you a more uniform final color.
Problem: Iron Left a Shiny Mark or Discoloration
You used too much heat. Tencel and Lyocell are sensitive to high temperatures. That shiny patch is caused by the fibers literally melting and flattening. This type of heat damage is permanent and cannot be reversed. It’s a stark reminder to always use the right temperature setting.
Problem: Dye Bleeds in Later Washes
This means the dye wasn’t fully set or rinsed. Don’t panic. Wash the item again by itself in hot water (as hot as the fabric care label allows) with a dye-setting soap like Synthrapol. The hot water helps release the unstable dye, and the soap captures it. Rinse thoroughly and repeat the colorfastness test. For dyeing delicate fabrics, use gentler handling and cooler water to protect fibers during the wash.
These plant-based fibers are beautiful but demand respect. They reward a methodical approach. The single best habit you can develop is to always test your iron temperature and dye process on a fabric scrap first. It saves your beautiful main project from becoming a lesson learned the hard way.
Final Textile Science Tips for Tencel and Lyocell
Keep your iron on a low, steamy setting for Tencel and Lyocell to safely press out creases. For dyeing, fiber-reactive dyes in a cool bath give you the deepest, most permanent color on these cellulose fibers.
Handling these fabrics with respect makes the most of their sustainable nature. Let this be a start—understanding how cotton breathes, wool felts, or nylon resists stains empowers you to care for every fabric in your home wisely.
Further Reading & Sources
- Is Tencel Fabric Toxic to Your Skin and the Environment?
- Can You Dye Lyocell? (How To And What Dye To Use For Tencel)
- What is TENCEL™ Lyocell? Everything You Need to Know
- Tencel chambray dye problems sewing discussion topic @ PatternReview.com
- Lenzing introduces new resource-efficient dyeing approach for TENCEL™ Lyocell fibers
- The dyeing of tencel: Part 1: reactive dyes – ScienceDirect
Florian Ventura
Florian is a high fashion blog writer, fashion and fabric expert and a keen expert in fabric, clothing and materials. She has worked in large textile and fashion houses for over 10+ years, engineering and working with various fabric types and blends. She is an expert when it comes to questions on any and all kinds of fabrics like linen, cotton, silk, jute and many more. She has also traveled around the world studying traditional fabrics and aims to bring them into the modern fashion use.