
How Do You Stiffen Fabric with Starch Correctly?
Does your fabric feel too limp, but you fear starch will make it brittle or hard to clean? I have calibrated starch solutions in the lab and at home to give you reliable, fabric-safe techniques.
This guide breaks down the process from science to finish. We will cover how starch interacts with different fibers, choosing between spray and immersion methods, applying starch evenly for a crisp hand, and caring for starched items to avoid residue or shrinkage.
How Starch Works on Fibers: The Simple Science
At its heart, starch is a simple carbohydrate polymer. Think of it like a long, flexible chain of sugar molecules. When you apply it to fabric, those chains coat the individual fibers and fill the tiny spaces between threads.
This coating adds body and reduces the fibers’ natural flexibility. Starch acts like a temporary, washable exoskeleton for each thread, holding it in a rigid position and preventing it from easily bending or flopping. The result is that crisp, structured feel you’re after.
The effect varies dramatically depending on your fabric’s fiber content.
- Cellulose Fibers (Cotton, Linen, Rayon): These plant-based fibers love starch. Their molecular structure forms a strong hydrogen bond with the starch molecules, creating a firm, lasting hold. This is why cotton shirts and linen napkins are the classic candidates for stiffening.
- Protein Fibers (Wool, Silk): I advise against using traditional starch on wool or silk. These fibers have a different chemical makeup. Starch can sit on the surface awkwardly, feel gritty, and may even attract pests. For historical costume work that requires stiffening silk, some use a diluted gelatin solution. For our purposes, I recommend exploring fabric stabilizers or interfacing instead of animal-derived products.
- Synthetic Fibers (Polyester, Nylon): Starch doesn’t bond well to slick synthetics. It tends to flake off or create a strange, clammy film. You’ll get poor results and a messy cleanup.
Let’s define a few key terms you’ll hear. Crispness refers to that audible, sharp quality of a heavily starched fabric. Drape is how fluidly fabric falls-starch reduces drape. Hand is the tactile feel of the fabric, which starch changes to a drier, stiffer finish. Finally, understand that traditional starch is temporary and washes out, unlike permanent stiffening from resins or glue-based products.
Choosing Your Starch: Sprays, Liquids, and Homemade Mixes
You have options, from store-bought convenience to kitchen-sink control. Here’s my breakdown from years of testing.
Commercial Starch Products
- Aerosol Spray Starch: This is the most common. It’s fine for light, even touch-ups on shirts. The propellant can sometimes leave a spotty residue if you spray too close. It offers a light to medium hold.
- Pump Spray Starch: Usually a liquid starch in a trigger spray bottle. You get more control over the amount and avoid the aerosol propellant. The hold can be varied by how many coats you apply.
- Concentrated Liquid Starch: This is my go-to for serious projects. You dilute it with water to your desired strength-from a light body for quilting to a heavy sculptural hold. You can immerse fabric in it or apply it with a sponge for total saturation.
Homemade Starch Solutions
These are effective, cheap, and let you customize stiffness perfectly.
- Cornstarch Slurry: Mix 1 tablespoon of cornstarch with 2 cups of cold water. Heat in a pan, stirring constantly, until it thickens to a milky consistency. Let it cool before using. This mix is incredibly versatile and costs almost nothing, giving you complete command over the final stiffness.
- Wheat Flour Paste: A classic for bookbinding and heavy craft. It creates a very stiff, opaque finish. Be aware it can attract insects if left untreated and may become moldy if damp.
- Potato Starch Solution: Similar to cornstarch but can give a slightly clearer finish. Mix with cold water and heat gently until translucent.
Let’s clear up two common questions. Does spray starch stiffen fabric? Yes, but usually with a lighter, more flexible hold best for maintenance, not creating structure from scratch. Does Mod Podge make fabric stiff? Absolutely, but it’s a permanent acrylic sealer, not a washable starch. It turns fabric into a stiff, plastic-like material suitable for crafts, not for garments you plan to wash and wear again. Whether you want to soften or stiffen fabrics, the method varies by material. More details and practical examples follow in the next sections.
Before you starch any precious project, do a risk assessment. Always test your chosen method on a hidden seam or scrap first. Check for colorfastness, desired stiffness, and how it affects the fabric’s hand after it dries completely.
Step-by-Step: How to Starch Fabric Correctly
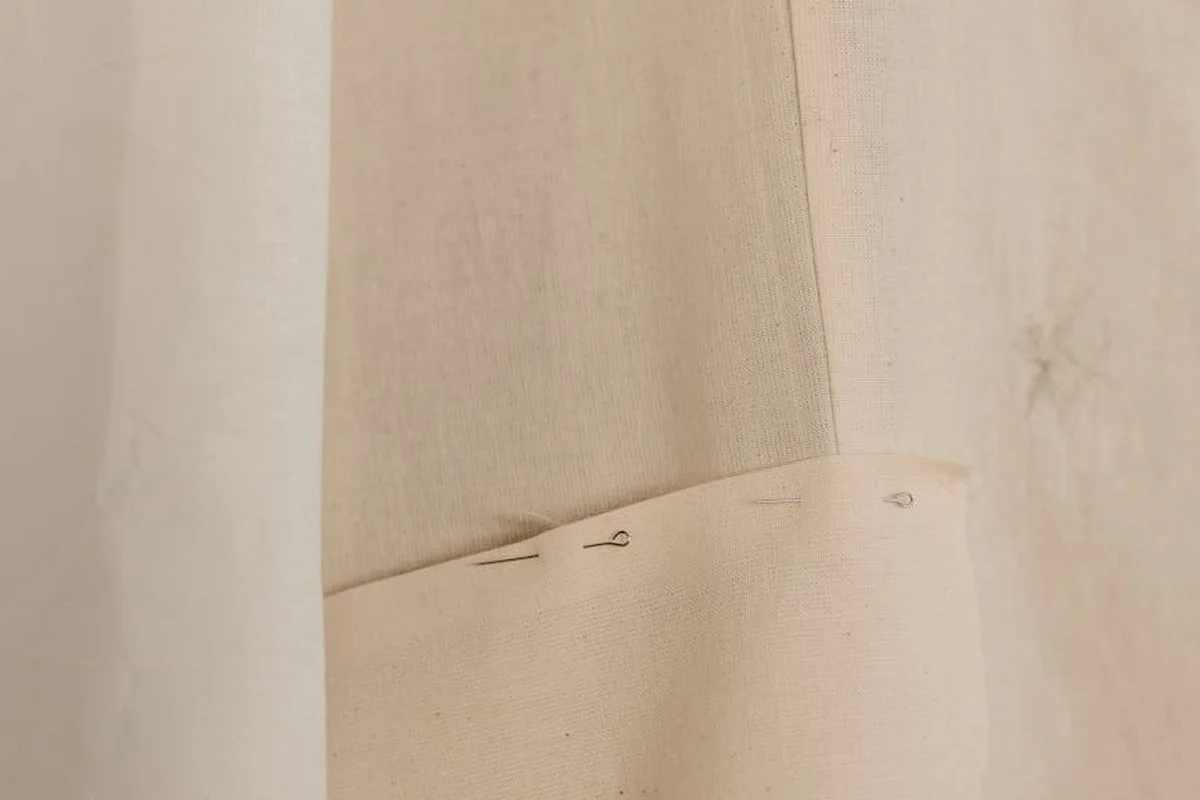
Think of starch as a temporary scaffold for your fabric. It works by coating the individual fibers, adding body and a crisp hand. The goal is an even application, because clumps of dried starch feel gritty and look terrible. You can use a commercial liquid starch or a simple homemade mix. My go-to homemade recipe is one tablespoon of cornstarch dissolved in two cups of cold water, heated until it just thickens, then cooled completely.
Gather Your Tools
You don’t need specialized equipment. A clean spray bottle, a shallow bowl, a sponge, an iron, and a plain cotton pressing cloth are perfect. The pressing cloth is non-negotiable-it protects your fabric and iron from any starch residue.
The Universal Application Process
- Start with clean, dry fabric. Any dirt or oils will seal under the starch.
- Apply the starch evenly. For a full garment, I dip a sponge in the cooled starch solution and wipe it across the fabric. For a smaller piece, you can lightly mist it from a spray bottle held about 10 inches away. You want the fabric damp, not soaking.
- Press while damp. Lay the fabric flat, cover it with your pressing cloth, and use a hot iron. Move the iron steadily. You will see and feel the fabric stiffen as you work. The heat is what “sets” the starch by gelatinizing it, essentially cooking a thin, stiff layer onto each fiber.
- Let it air dry completely. After pressing, allow the fabric to cool and dry fully before handling or wearing. This final drying step cures the stiffness.
Handling Pro-Tip: For an ultra-crisp shirt collar that holds its shape all day, apply the starch, fold and shape the collar perfectly, then let it air dry completely before giving it one final, light press with the iron. This double-set method builds incredible body.
Method 1: The Immersion Technique for Total Control
This is my preferred method for quilting squares, delicate craft projects like fabric origami, or a whole cotton shirt that needs uniform, all-over stiffness. I’ve tried several different stiffening methods for fabric, and this one consistently delivers the best results.
- Mix your starch solution in a bowl or clean sink.
- Submerge the fabric fully. Swish it gently to ensure the liquid penetrates every thread.
- Lift the fabric and let the excess drip off. Gently squeeze or roll it in a towel-avoid aggressive wringing, which can distort the weave.
- Block it into shape. Lay it flat on a drying rack or towel, smoothing out any wrinkles and shaping collars or points as desired.
- Let it air dry fully. Once dry, you can give it a quick press with a pressing cloth to smooth any last wrinkles.
Method 2: The Targeted Spray Method for Touch-Ups
This is the quick fix for life. Use it to refresh a wilting shirt collar, add definition to cuffs, or perk up a costume piece like a fabric flower or tutu layer between performances.
- Lightly dampen the target area with plain water from a spray bottle. This helps the starch spread evenly.
- Shake your starch spray well. Hold it 8-10 inches from the fabric and mist a light, even coat.
- Immediately press with a hot iron and a pressing cloth. The heat from the iron will dry the starch quickly and set the stiffness right where you need it.
Which Fabrics Love Starch (And Which to Avoid)
Not all fabrics react to starch the same way. The key is fiber absorbency. Natural plant fibers are starch champions because they readily soak up and bond with the starch solution.
Best Candidates: The Starch Lovers
- Woven Cotton: This is the classic. From quilting calico to a dress shirt, cotton takes starch beautifully for a crisp, structured finish.
- Linen: Starch helps control linen’s natural slubbiness and drape, giving it a sharper, more formal look.
- Rayon/Viscose: These plant-based regenerated fibers are very absorbent. Starch can add much-needed body to a floppy rayon blouse, but always test first, as some rayon is delicate when wet.
These fibers work because their molecular structure welcomes the starch granules, holding them firmly in place after heat setting.
Tricky Candidates: Proceed with Caution
- Silk: Silk can water spot easily, and the acids in some homemade starch mixes might damage the delicate fibers. If you must, use a very dilute, pH-neutral commercial spray and test on a hidden seam.
- Wool: Applying wet starch and then heat-pressing is a recipe for felting and shrinkage. I avoid starching wool altogether.
- Heavyweight Fabrics (like denim or canvas): You can starch them, but it takes a lot of product to make a noticeable difference. The immersion method is best here.
Fabrics to Avoid
- Polyester, Nylon, and Most Synthetics: These fibers are non-absorbent. The starch just sits on the surface and will brush or flake off. More critically, high iron heat can melt or glaze these synthetics, and the starch residue can fuse into a nasty, sticky mess.
- Waterproof or Coated Fabrics: The starch cannot penetrate the coating and will just create a messy film.
- Leather or Suede: Water-based starch solutions can stain and stiffen these materials unpredictably and irreversibly.
What About Stiffening Thin Polyester or Silk?
I get this question often for costumes or special crafts. For thin polyester (like chiffon), starch is not the answer. Look for a fabric stiffener specifically designed for synthetics, often labeled as a “fabric glue” or “clear stiffener,” and always follow the instructions. For silk, a far gentler alternative is a dilute solution of gelatin. Dissolve one teaspoon of unflavored gelatin in a cup of hot water, let it cool, immerse the silk, then air dry. It provides a subtle, temporary stiffness that is easier on the fibers than traditional starch. Test first on silk to ensure it won’t damage the delicate fabric.
Care & Handling: Washing and Ironing Starched Fabric
The crispness from starch is beautifully temporary. Starch is water-soluble by design, washing out completely in the laundry. I see this as a feature, not a bug. It lets you control the level of stiffness for each occasion.
To wash a starched item, use a standard cycle. Your regular detergent and the machine’s agitation will dissolve the starch. You can also hand wash it, swishing the garment in warm, soapy water. The stiffness will vanish in the wash water, returning the fabric to its original soft hand.
For pieces with a very heavy starch application, you might notice a faint, cloudy residue after the first wash. This is normal. Simply run the item through a second rinse cycle with no detergent to clear it.
Drying is straightforward. Tumble drying on a low heat setting is perfectly safe. If you line dry, take a moment to gently reshape the garment while it’s still damp. This helps it dry without wrinkles.
Ironing is where you renew the crisp look. You must reapply starch after every wash if you want that structured, ironed finish again. The heat from the iron sets the fresh starch, but it does not reactivate the old, washed-out coating.
Removing Starch Build-Up or Mistakes
Sometimes starch can turn gummy or yellow, especially if it wasn’t fully dissolved during application or if it sat on fabric in storage. To fix this, soak the item in warm water with a tablespoon of white vinegar or a capful of gentle liquid detergent for 30 minutes. Then, launder as usual.
Never use chlorine bleach on a fabric with starch residue. The chemical reaction between the bleach and the starch can cause permanent yellowing on white cottons and linens. For whitening, use an oxygen-based bleach after the starch is fully washed out.
Smart Projects: Using Starch for Crafts and Repair
Starch is a fantastic, low-cost tool in your crafting kit. For costume pieces made from slippery tulle or sheer organza, a light mist of spray starch and a cool iron adds just enough body without making the fabric brittle.
Quilters and embroiderers, take note. A light starch spray stabilizes fabric, making bias edges and loose weaves much easier to cut and handle without stretching. It acts like a temporary, washable interfacing.
To create fabric flowers or decorative leaves, mix a thick batch of liquid starch. Immerse your fabric cut-out, squeeze out the excess, and mold it into shape. Let it dry completely on a curved form or wax paper. The starch will hold the shape until you decide to wash it out.
Reviving a floppy hat brim or a sagging fabric bag is a classic trick. Apply the starch solution to the inner lining or interfacing, not the visible outer layer. This stiffens the structure without affecting the look or texture of the main fabric.
For complex 3D shapes, get creative with your drying form. I’ve used balloons, bowls, and dress forms to hold starched fabric in place as it dries. The key is to let the starch dry completely while the fabric is supported in the exact shape you desire.
Risk Assessment: When NOT to Use Starch
Starch is a fantastic tool, but it isn’t magic pixie dust for every fabric. Knowing when to avoid it is just as important as knowing how to apply it. Using it in the wrong situation can damage your textiles, ruin a project, or cause discomfort.
Do not starch items that will be in direct, prolonged contact with skin if you have sensitivities, as it can be irritating.
Think about a crisp, starched collar rubbing against your neck all day. For many, this feels clean and sharp. For others, it can lead to redness and itchiness. Commercial spray starches often contain perfumes, whiteners, and other additives that are common skin irritants. Even homemade starch from kitchen ingredients can feel unpleasantly gritty or stiff against sensitive skin.
My advice is to always test-starch a small, inconspicuous area of a garment and wear it for a few hours before treating the whole piece. For items like undershirts, pajamas, or summer blouses, skip the starch entirely and opt for the natural hand of the fabric.
Do not starch heirloom textiles, velvet, or delicate weaves, as the stiffness can stress fragile fibers.
Here’s the textile science: starch works by coating fibers and forming a brittle film as it dries. On a robust cotton, this film is temporary and flexes with the fabric. On a delicate 100-year-old lace or a finely spun silk chiffon, that same brittle film acts like a rigid shell on a fragile structure. It can cause historic fibers to crack and break under the tension.
Velvet, corduroy, and other pile fabrics are a definite no. The starch will gum up and crush the plush nap, leaving you with a flat, stiff, and likely permanently altered texture. I treat starched velvet as a irreversible textile flaw.
Do not use starch as a substitute for proper interfacing in structured garments; it is not durable enough.
I see this often in home sewing. A maker wants a stiff collar or a sculpted cuff and thinks a heavy dose of starch will do the trick. It might work for a photo, but it won’t survive real life. Starch washes out. It softens with humidity and body heat. Interfacing-a woven, non-woven, or knit fabric specifically fused or sewn in-provides permanent structure and recovery.
Starch is for temporary body and crispness, while interfacing is for permanent shape and support. Using starch instead of interfacing is like using tape instead of stitches; it’s a temporary fix that will fail.
Do not apply starch to dirty fabric, as it can set stains.
This is a fundamental rule of any fabric treatment, from starching to dyeing. Starch acts as a glue. If you spray it over a spot of oil or food, you are literally gluing that stain to the fiber. The heat from your iron will then thermally set it, making it nearly impossible to remove later.
Your fabric must be completely clean and rinsed free of any detergent residue before you apply starch. Always launder or spot-clean first, then starch. This simple sequence saves countless garments.
Do not iron synthetic fabrics with high heat after starching; you risk melting the fiber and fusing the starch.
This is a high-stakes risk. Synthetic fibers like polyester, nylon, and acrylic have low melting points. A standard iron on a cotton/linen setting is often too hot. When you add a starch slurry to the mix, you create a dangerous scenario. The heat can melt the synthetic fiber just enough for the liquid starch to seep into the polymer matrix. As it cools, the starch fuses with the plastic fiber.
The result isn’t just stiffness; it’s a hard, shiny, discolored patch where the fabric is essentially plastic-coated and ruined. If you must starch a blend, use a very light mist, a low heat setting, and always press on the wrong side of the fabric with a protective press cloth. For pure synthetics, I recommend avoiding traditional starch altogether; instead, consider other fabric stiffeners like sugar or PVA.
Closing Thoughts on Starch and Fabric Behavior
Always test your starch solution on a hidden seam or spare swatch before applying it to your entire project. This simple test shows you exactly how the fibers-from springy wool to sleek polyester-will absorb the starch, preventing over-stiffening or discoloration.
Wash starched items inside-out on a gentle, cool cycle to care for both the finish and the underlying fabric. Your commitment to learning how cotton shrinks, silk dyes, or nylon wears under stiffness leads to longer-lasting garments and more responsible textile choices, especially when you pre-wash fabrics to prevent shrinkage.
Industry References
- DIY – Laundry Starch & Fabric stiffener recipes for clothes
- How to Make Super Heavy Starch for Crafting
- How to Stiffen Fabric: 14 Best Fabric Stiffener Unveiled
Florian Ventura
Florian is a high fashion blog writer, fashion and fabric expert and a keen expert in fabric, clothing and materials. She has worked in large textile and fashion houses for over 10+ years, engineering and working with various fabric types and blends. She is an expert when it comes to questions on any and all kinds of fabrics like linen, cotton, silk, jute and many more. She has also traveled around the world studying traditional fabrics and aims to bring them into the modern fashion use.