
How Do You Repair and Mend Linen and Velvet Fabrics?
That sudden tear in crisp linen or a crushing snag in plush velvet can feel like a disaster. I work with these fabrics every day, and I can assure you that most damage is completely reversible with the right approach.
This guide will walk you through the fundamental science behind each fabric’s structure, practical, step-by-step repair techniques for common issues like frays and pile distortion, and the aftercare needed to lock in your mend.
Why Linen and Velvet Mend So Differently: A Fiber Science Primer
To mend fabric well, you first need to know what you’re working with. Linen and velvet couldn’t be more different under a microscope, and that changes everything about how you fix them.
Linen is a bast fiber, pulled from the stalk of the flax plant. Under tension, these fibers are incredibly long and strong. Think of them like bundles of smooth, straight straws. This gives linen its signature crisp hand and lovely drape. But that strength has a weakness. Repeated bending at the same spot, like a sharp crease in trousers or a folded cuff, causes those long fibers to abrade and snap. Linen tends to wear thin and then tear in a relatively clean line, often along the grain of the fabric.
Velvet is all about surface. It’s a woven fabric where extra loops of yarn are created during weaving, and then those loops are cut to create a dense, upright pile. This pile is the nap. Run your hand over velvet one way, and it feels smooth and dark; the other way, it feels lighter and more textured. This plush, light-absorbing texture is velvet’s glory, but also its vulnerability. The pile can be pulled out entirely by a snag, or permanently crushed by pressure. The backing fabric that holds the pile can also split, often hidden beneath the lush surface. From a sewing viewpoint, respect the nap as you stitch. Using a walking foot can help keep the pile even and prevent crushing.
Their reactions to stress tell the whole story. When linen fails, it announces itself with a visible tear or a threadbare thin spot. When velvet is damaged, the pile might hide a split backing for a while, or a single pulled thread can create a noticeable “run” or bare track. You mend linen to restore strength. You mend velvet to restore its perfect, unbroken surface.
Common damages reflect this. For linen, look for tears at stress points, frayed hems where the crisp yarns unravel, and small burn holes from errant embers. For velvet, watch for pulled threads in the pile, crushed spots that won’t bounce back, and splits in the seams or backing fabric.
Your Mending Toolkit: Needles, Threads, and Backing Materials
The right tools don’t just make the job easier, they prevent you from causing more damage. Let’s build two separate kits.
For mending linen, you need tools that match its strength and slightly coarse weave. Use a sharp, fine needle like a “sharp” or “between.” These pierce the fabric cleanly without leaving large holes. Your thread must be strong. I prefer a good quality cotton or, ideally, linen thread itself. It will wear at a similar rate to the fabric and blend seamlessly. A regular sewing needle is often too thick and can distort the fabric’s weave.
Mending velvet is a stealth operation. Your goal is to repair the structure without disturbing the pile. You need a very thin, incredibly sharp needle. Milliner’s needles are excellent for this. Your thread must be smooth and slick. Silk thread is a classic choice, but a fine, high-filament polyester thread works wonderfully. It should slip between the pile yarns without catching them. Here’s a hands-on tip: before threading your needle, gently pull the thread across the velvet’s nap. If you feel it snag or tug the pile, it’s too rough for the job.
Backing materials are your secret weapon for a stable repair. For both fabrics, lightweight fusible interfacing is a lifesaver for stabilizing tears from behind before you stitch. It adds support without bulk. For patches, always use a scrap of the same fabric if you can. A patch of similar-weight linen will behave like the original during washing. A velvet patch must match the nap direction perfectly, or it will look like a dark spot. If you don’t have a scrap, a plain cotton patch works for linen, but for velvet, you may need to get creative, like taking fabric from a hidden facing or hem.
So, can you use a regular needle and thread? For a quick, temporary fix on linen, maybe. But for a lasting, nearly invisible mend on either fabric, the specialist tools are not just recommended, they are required. They are the difference between a repair and a regret, especially when working with delicate linen fabric.
How to Repair Linen: Techniques for Tears, Frays, and Burns
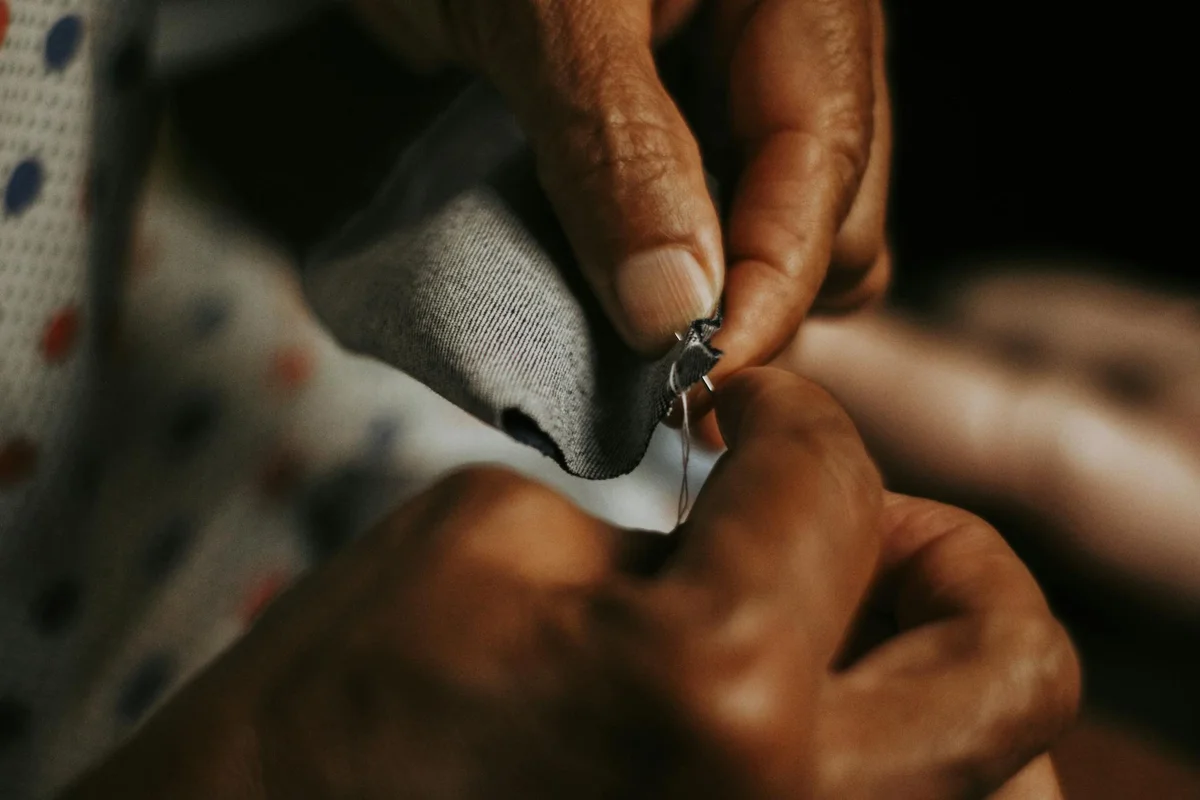
Linen has a crisp, strong hand, but it isn’t indestructible. I treat tears, frays, and burns as common chapters in a linen garment’s life. Follow these steps to give your pieces a second act.
How Do You Repair a Tear in Linen Fabric?
First, stop the fray. Before any weaving, use a tiny whip stitch to secure all loose thread ends around the tear. This initial lockdown prevents the damage from growing while you work.
For the main repair, I use a darning stitch. Place the fabric in a small embroidery hoop. This tension mimics the stability of a loom. Thread a fine needle with linen or cotton thread. Start weaving stitches horizontally across the tear, then vertically, building a new grid of thread over the gap. Keep your stitches loose and even.
Think of it as building a tiny, flexible bridge. For a tear longer than two inches, a patch is a smarter choice. Cut a patch from similar, lightweight linen. Place it behind the tear on the garment’s wrong side. Pin it securely. Use a slip stitch to attach it, sewing through the patch and the garment’s body. An interior patch reinforces a large tear without adding bulk or obvious stitching to the right side.
How Do You Fix Frayed Edges on Linen?
Linen fibers are slippery and love to escape. Your method depends on the item’s use and your time.
- Narrow Machine Zig-Zag: This is my go-to for table linens or casual clothes. Set your machine stitch width to 2 and length to 1.5. Sew along the raw edge. It’s quick and durable.
- Hand-Rolled Hem: For a cherished blouse or napkins, this is the gold standard. Fold the edge under 1/8 inch, then fold it under again. Sew with nearly invisible slip stitches. The result is a clean, professional finish.
- Simple Whip Stitch: Need a fix right now? A basic whip stitch by hand will anchor those wild threads. It’s not the prettiest, but it works in a pinch.
Linen’s inherent fraying means any unfinished edge will eventually unravel, so proactive finishing saves future repairs. We’ll debunk linen high-maintenance myths with straightforward care tips.
Is It Possible to Repair a Burn Hole in Linen?
I can be honest. A pinpoint burn can be darned to near-invisibility. A hole the size of a pencil eraser or larger needs a patch. The fibers are gone, and you cannot weave back what isn’t there.
For darning, use the same weaving technique as for a tear. Work from the back with very fine thread. For a patch, choose a lightweight backing like cotton lawn. Cut it an inch larger than the hole. Place it behind the hole on the wrong side and baste it in place. You can then appliqué a decorative linen patch on top or, for discretion, carefully stitch the hole’s edges to the backing fabric.
Matching linen’s color is critical for a hidden mend. If your white thread is too bright, tea dye it. Steep black tea, let the thread soak until it cools, then dry it. This warms the white to a creamy, vintage tone that often matches well-worn linen.
Watch for two common mistakes. Pulling your darning thread too tight will pucker the fabric. Always press your repair when finished. Use a medium-hot iron with steam. The heat and moisture relax the new stitches and help them merge with the original cloth.
How to Repair Velvet: Working With the Nap, Not Against It
Velvet repair is all about the pile. Those tiny fibers create its luxurious feel and deep color. Every technique must protect them.
How Do You Mend a Hole or Tear in Velvet Fabric?
Your work happens on the back. Turn the garment inside out. You’ll see the plain backing fabric that holds the pile. This is your canvas. Use a ladder stitch to bring the edges of a tear together. Repairing the backing from the reverse side closes the gap without putting a single stitch through the precious pile on the front.
Once the backing is secure, turn the piece right side out. Use the blunt end of a needle or a soft bristle brush to gently tease the surrounding pile fibers over the mended area. Stroke in the direction of the nap. Never sew directly on the right side. Top-stitching flattens the pile permanently, leaving a shiny, dead spot.
How Do You Fix Frayed Edges or Pulls on Velvet?
For a raw, fraying edge, a catch stitch on the wrong side is your friend. This zig-zag hand stitch anchors the edge to the garment’s body discreetly.
A “pull” is a snagged loop of pile thread. Don’t cut it. Turn the velvet over. You’ll see the pulled thread on the backing. Use a needle to gently redistribute the tension, easing the loop back into the fabric from behind. Fixing a pull from the back coaxes the fiber back into place without breaking it, preserving the nap’s uniformity.
This is different from intentional distressing. To distress velvet, you might carefully sand the pile tips. For repairs, the goal is always restoration, not adding wear.
Can You Fix Burned Velvet Fabric?
There’s a clear line. Crushed pile can sometimes be lifted with steam. Hold a garment steamer a few inches away. The heat and moisture can plump the fibers back up. Charred pile is melted and cannot be fixed. You can only disguise it.
For a tiny, scorched spot, try “re-piling.” With tweezers and fabric glue, take individual pile fibers from a hidden scrap and place them into the burned area. It’s meticulous work for spots no larger than a pinhead.
For anything bigger, consider a creative appliqué. Sew on a small embroidered patch or a piece of contrasting velvet. Color matching velvet is famously hard because light reflects off the pile angles, so a perfect match is rare. Test any patch on a scrap first, or choose to make the repair a bold feature.
Do not wash velvet before mending. Water can set stains or distort the pile shape, making alignment impossible. The most common error is rushing and ignoring the nap. Always stroke the fabric before you start. Feel which direction is smooth (nap down) and work with it. Sewing against the nap will catch fibers and look messy.
Linen vs. Velvet Mending: A Side-by-Side Comparison
Think of mending linen and velvet as fixing two different materials: one is like repairing paper, the other like fixing grass. Linen is a flat, crisp plant fiber. Velvet is a three-dimensional forest of tiny fibers (pile) standing on a woven base (ground). Your approach must honor that fundamental difference.
| Factor | Linen | Velvet |
|---|---|---|
| Primary Goal | Restore structural integrity. The mend can be visible and celebrated. | Create an optical illusion. The mend must disappear into the pile’s shadow and light. |
| Thread Type | Use a fine, strong linen or cotton thread. Match the fiber for even shrinkage and wear. | Use silk thread. It’s fine, strong, and has a sheen that mimics velvet’s luster better than matte cotton. |
| Stitch Style | Clean, straight stitches like running stitch, backstitch, or a visible darn. You’re building strength. | Short, nearly invisible slip stitches or ladder stitches. You’re only catching the ground weave, not the pile. |
| Ironing Needs | Ironing is your final step. Use high heat and steam to flatten and “set” the mend into the fabric. | Never press directly on the face. Only use a steamer from the back to revive crushed pile around the mend. |
| Invisibility Potential | Low to medium. A perfect color-match darn can be subtle, but linen often welcomes visible mending. | High (when done correctly). The goal is for the seam to vanish into the nap’s direction and texture. |
You iron linen flat to meld the repair with the cloth. You steam velvet from the back to resurrect the pile and hide your work. Mending linen is a tactile, structural act. Mending velvet is a visual puzzle of light and depth.
The core sensory difference is this: linen repair is about crisp flatness and strength, while velvet repair is about plush depth and shadow.
When to Call a Professional Textile Conservator
I love DIY fixes, but some damage needs an expert’s hand. Knowing when to stop saves heirlooms from irreversible harm.
“Badly damaged” means a few specific things:
- Large Areas of Loss: A burn or tear bigger than a silver dollar on velvet, or a significant shredded section on linen.
- Historical or Sentimental Pieces: A wedding dress, a military uniform, or any garment where preservation is the top priority.
- Complex Fabric Blends: Modern linen-rayon blends or vintage silk velvets with degraded fibers need specialized knowledge.
- Extensive Staining: Old, set-in stains (ink, mildew, wine) that have already survived home treatment attempts.
A professional conservator brings tools and techniques far beyond the home workshop.
For linen, they can perform reweaving, where individual threads are woven across the damaged area on a tiny loom, matching the original weave pattern perfectly. For velvet, they can execute re-piling, a meticulous process of tying new pile threads into the ground weave to fill bare spots. They also have access to professional-grade solvent baths for stain removal and spectrophotometers for flawless color matching.
Can professional restoration fix badly damaged linen or velvet?
Yes, but with realistic expectations. A conservator’s goal is stabilization and visual reintegration, not making the damage disappear like magic. The repair will likely be visible upon very close inspection. The fabric will be preserved from further damage and made whole again to the eye, not to the microscope. For pieces with immense sentimental value, this is almost always worth the investment.
How to find a qualified textile conservator
Start with professional organizations. Look for members of the American Institute for Conservation (AIC) or your country’s equivalent. Their “Find a Conservator” directory is vetting. Ask for a portfolio of their previous work, specifically with garments similar to yours. Get a detailed written assessment and cost estimate before any work begins. A good conservator will explain exactly what they can and cannot do for your precious piece.
Prevention and Care: The Best Repair is Avoiding Damage
The most satisfying mend is the one you never have to make. Both linen and velvet ask for specific, gentle handling. Treat them right from the start, and you’ll avoid many common tears, pulls, and worn spots.
Care and Handling Protocol for Linen
Linen is strong, but repeated rough treatment will fatigue the fibers. Your goal is to clean it without causing unnecessary agitation or stress.
- Washing: Use cool or lukewarm water and a mild, neutral pH detergent. Hot water can cause more shrinkage and set stains. Turn the garment inside out to protect the outer surface. Use the gentle cycle or hand wash with a gentle squeezing motion, never wringing.
- Drying: Air drying is always best. Lay the item flat on a drying rack or towel, reshaping it to its original dimensions. If you must use a dryer, select the lowest heat setting and remove the linen while it is still slightly damp. Complete drying on high heat is a leading cause of excessive shrinkage and a harsh, crispy hand feel.
- Ironing: Iron linen while it is still slightly damp. Use a medium to high heat setting with steam. This helps the hydrogen bonds in the flax fibers reset smoothly, giving you that crisp, coveted finish without over-pressing.
- Storage: Never hang a heavy linen item on a thin wire hanger for long periods; the stress can distort the shoulders. For long-term storage, fold linen garments and store them flat in a breathable cotton bag, or loosely roll them. Avoid creating sharp, permanent creases, as these fold lines become weak points where fibers can eventually break.
Care and Handling Protocol for Velvet
Velvet is all about preserving its pile-the soft, plush surface. Crushing, matting, or soaking the pile is the damage you’re working to prevent.
- Cleaning (Less is More): Start by airing the garment out or using a garment steamer to refresh it and release odors. For spots, use a barely damp, white cloth and a tiny drop of mild detergent. Blot from the edge of the stain inward, never rub. Rinse the area by blotting with a cloth dampened with clean water, and let it air dry completely. Rubbing will distort the nap and create a permanent shiny patch.
- Dry Cleaning vs. Laundry: For structured items like blazers, gowns, or anything with interfacing or an unknown fiber blend (like polyester/rayon velvet), I recommend professional dry cleaning. For simple cotton velvets, you can sometimes hand wash very gently in cold water with a wool detergent, but you must support the full weight of the wet fabric to avoid stretching. When in doubt, go to a professional you trust.
- Storage: To prevent crushing, hang velvet on a wide, padded hanger. For heavier items or long-term storage, fold them with the pile facing inward and place them in a breathable bag at the top of your closet. Never store anything on top of velvet.
Textile Expert’s Note: Handling Pro-Tips
If you make or alter your own clothes, these foundational tips will save you heartache.
- For Linen: Always cut and sew with the grain of the fabric. The long flax fibers run parallel to the selvage. Cutting on the bias (diagonally) gives stretch, but it also makes linen edges fray aggressively, which can undermine seams.
- For Velvet: Mark your pattern pieces on the fabric’s backside with tailor’s chalk. Cut one layer of fabric at a time. Before you cut, run your hand over the velvet; one direction will feel smooth (nap down), the other will feel slightly rough (nap up). For the richest, deepest color, cut with the nap running downward from the neckline to the hem.
Knowing Your Textile
The most successful repair starts before you even thread a needle. I always test a fabric’s fiber content and reaction to moisture. This simple step tells you exactly how a linen will behave or a velvet will recover.
Mending extends a garment’s life, which is one of the most sustainable choices you can make. I keep learning about how cotton, wool, synthetics, and blends react to wear and care-it makes every repair more effective.
Research and Related Sources
- How to Fix Velvet Fabric: A Comprehensive Guide 2024 | China Fabric Manufacturer | Fandafabrics
- How to Fix Velvet Fabric and Restore Its Elegant Look
- How to Restore Velvet Fabric | China Fabric Manufacturer | Fandafabrics
- How best to repair a tear in rayon/silk velvet? | Vintage Fashion Guild Forums
Florian is a high fashion blog writer, fashion and fabric expert and a keen expert in fabric, clothing and materials. She has worked in large textile and fashion houses for over 10+ years, engineering and working with various fabric types and blends. She is an expert when it comes to questions on any and all kinds of fabrics like linen, cotton, silk, jute and many more. She has also traveled around the world studying traditional fabrics and aims to bring them into the modern fashion use.