
How Do You Cut and Hem Cotton, Wool, Silk, Polyester, Nylon, and Blends?
That nervous feeling before making the first cut is completely normal, but with a bit of fabric science, you can approach any material with confidence.
This guide breaks down the process fiber by fiber. We will cover selecting the perfect scissors or rotary cutter, pre-washing to control shrinkage, choosing threads and stitches that last, and gentle techniques for delicate animal fibers.
The Textile Science of a Clean Cut and a Crisp Hem
A perfect hem starts long before you thread the needle. Your success depends entirely on three things: the fiber content, the weave, and the chemical finish applied to the fabric. Think of it like cooking; you need to know if you’re working with a delicate egg white or a sturdy root vegetable before you choose your tools and heat.
Let’s define a few key terms you’ll see everywhere.
- Grainline: This is the direction of the threads running parallel to the fabric’s woven edge (the selvage). Cutting along the grain gives you the most stable, least stretchy piece.
- Bias: This is the 45-degree diagonal line across the grain. Fabric cut on the bias has beautiful, fluid stretch and drape, but it can distort easily if you’re not careful.
- Fraying: This is when cut threads unravel from the raw edge. A tight weave frays less; a loose weave frays more. Your finishing technique must match this tendency.
- Hand: This textile term simply means how the fabric feels-its weight, drape, and texture, from crisp and papery to soft and fluid.
The core fiber dictates your entire approach. Plant fibers like cotton and linen are strong but inelastic; they can be cut cleanly but press into sharp creases. Protein fibers like wool and silk are more forgiving and can be shaped with steam, but they require gentler handling. Synthetics like polyester and nylon are often slippery and prone to melting under too much heat, demanding precision and the right tools.
Your universal first step, for every single project, is to pre-wash and press your fabric exactly as you will launder the finished garment. This accounts for shrinkage upfront, so your perfect hem doesn’t become too short after the first laundry day. It also removes any manufacturing finishes that can affect how the fabric accepts dye, glue, or thread.
The Care & Handling Protocol: Prepping Fabric to Cut
Follow these steps before your fabric touches the cutting table. I use this same protocol in my lab when testing material properties.
- Check the Care Label: If your fabric has one, use it as your guide for water temperature and drying. If not, proceed with caution using the guidelines below.
- Wash: Finish the raw edges with a zigzag stitch or serge to prevent excessive fraying in the machine. Wash in warm water (40°C / 104°F) for natural fibers like cotton and linen to trigger shrinkage. Use cool water (30°C / 86°F) for delicate wools, silks, and synthetics.
- Dry: Tumble dry natural fibers if you plan to machine dry the final item-this is where most shrinkage occurs. For delicates and synthetics, lay flat or hang to dry. Never tumble dry silk or high-heat-sensitive fabrics.
- Press: Iron your fabric while slightly damp for the best results. Use the appropriate heat setting: high for cotton/linen, medium for wool, low for silk, and a cool setting for polyester and nylon. Always use a press cloth for delicate or shiny surfaces to prevent scorching or creating a shine.
This process stabilizes the fabric, giving you a true canvas to work on and preventing heartbreaking surprises later.
Your Fabric Spec Sheet: A Material Data Table
This table is your quick-reference guide to how these common fabrics behave. Use it to predict challenges and choose the right techniques before you start.
| Fabric | Breathability | Shrinkage Rate | Heat Tolerance (Iron) | Stretch Factor |
|---|---|---|---|---|
| Cotton | High | Medium-High (3-5%) | High (200°C / 392°F) | Low (on grain) |
| Linen | Very High | Medium (3-4%) | Very High (230°C / 446°F) | Very Low |
| Wool | High (wicks moisture) | High (Felts if agitated) | Medium (With steam & press cloth) | Good (Resilient) |
| Silk | Moderate | Low (But water can spot) | Low-Medium (160°C / 320°F) | Good (Fluid drape) |
| Polyester | Low | Very Low | Low (135°C / 275°F) – Can melt | Varies (Often high in knits) |
| Nylon | Low | Very Low | Low (125°C / 257°F) – Can melt | High (Very elastic) |
See how the data guides you? A high heat tolerance for cotton and linen means you can use a hot iron to crease a sharp, permanent hem. The high shrinkage rate for cotton and wool makes our pre-wash protocol non-negotiable. The low heat tolerance for polyester and nylon warns you to avoid hot irons and cauterizing blades that can melt the fiber.
For common blends, the fabric generally takes on the personality of its dominant fiber, but you must cater to its most sensitive component. A 65% polyester, 35% cotton blend will have minimal shrinkage but requires a medium iron temperature to protect the polyester. A wool-nylon blend for socks gains durability from the nylon, but you must still wash it gently to prevent the wool from felting. Always test your technique on a scrap first.
Cutting and Hemming Stable, Crisp Fabrics: Cotton and Linen
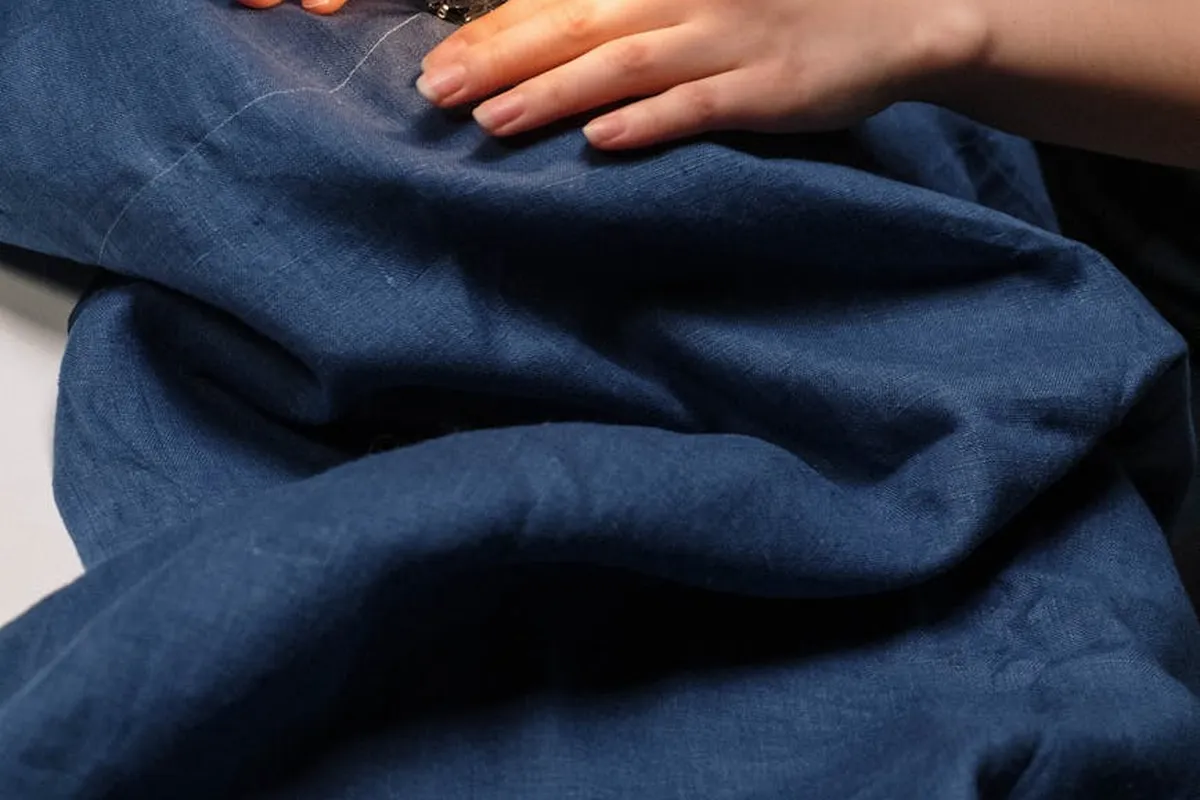
How do you cut cotton? How do you hem it? These are the best questions a beginner can ask. Fabrics like quilting cotton, poplin, and linen are your reliable friends. Woven from plant fibers, they are generally stable and forgiving. They lie flat, hold a crease, and don’t slip around as you work. If you’re new to sewing, start here. Learning a few sewing techniques tailored to cotton fabrics—such as stitch types, seam finishes, and pressing—will help you finish hems neatly. These basics apply across quilting cotton, poplin, and linen.
Cutting Notes for Cotton and Linen
Always use sharp fabric shears reserved only for cloth. Dull blades will chew the fibers and create a ragged edge. For precise shapes, like cutting 10-inch fabric squares or 2.5-inch strips, I measure and mark with a quilter’s ruler and fabric chalk first. Then I make long, confident cuts. For long strips, I often tear along the grainline after making a small snip-it’s fast and perfectly straight. Linen requires extra attention at the cut edge, as its fibers are more prone to fraying than tightly-woven cotton; I always finish linen seams quickly after cutting.
Hemming Notes for Cotton and Linen
The secret to a perfect hem here is a hot, steamy iron. Press a crisp, straight fold first. A classic double-fold hem, where you tuck the raw edge inside, is durable and clean. For invisible finishes, a blind hem stitch by hand or machine works beautifully. Iron-on hem tape bonds exceptionally well with cotton because the fabric can handle the direct heat needed to melt the adhesive. Just remember to use a press cloth to prevent any adhesive residue from getting on your iron.
Textile Expert’s Note
Pay attention to the grainline. With crisp quilting cotton, cutting exactly on the grain is critical for patchwork pieces to align. With linen, the grain affects drape more than stability. A word of caution: that stiff, beautiful linen you just hemmed will soften and develop a wonderful drape after its first few washes. It may also shrink slightly, so I always pre-wash linen the same way I plan to wash the finished garment.
Cutting and Hemming Slippery, Delicate Fabrics: Silk and Similar Synthetics
How do you cut silk? How do you hem it? This is where technique matters. This section covers real silk and its slippery synthetic cousins like polyester charmeuse, satin, and nylon georgette. They shift, slide, and can feel like trying to cut running water. Patience and the right tools are key.
Cutting Notes for Silk and Slippery Synthetics
Forget pins; they will snag and distort these fine fabrics. I use smooth pattern weights to hold my paper pattern in place. The best tool for the job is a fresh rotary blade and a self-healing cutting mat. You can apply gentle pressure and get a clean cut without the fabric slithering away. If the fabric is very sheer or prone to shifting, I cut only a single layer at a time, even if it takes longer. This ensures absolute accuracy.
Hemming Notes for Silk and Slippery Synthetics
Heat management is your top priority. For real silk, use a cool iron and always, always a press cloth (a scrap of plain cotton muslin works) between the iron and the silk to prevent water spots and shine. Be sure to follow proper silk fabric care especially during washing and ironing. The hallmark of a fine finish on these fabrics is a narrow rolled hem. You can achieve this with careful hand-stitching or by using a rolled hem presser foot on your sewing machine. A critical warning for polyester satin or nylon: these are thermoplastic fibers, meaning too much direct heat from an iron can melt them or leave a permanent, glossy scar on the fabric’s surface.
Textile Expert’s Note
This is a perfect example of fiber science guiding care. Real silk is a protein fiber, similar to wool. It can tolerate moderate, controlled heat which helps set the hem. Silk, linen, and other delicate fabrics require extra care. Polyester and nylon are plastic polymers. They melt at high temperatures. An iron set too high won’t just press them, it will re-shape the molecules and ruin the texture. Before I touch the main fabric, I test my iron’s temperature on a hidden scrap or seam allowance. This simple step has saved countless projects in my studio.
Cutting and Hemming Springy, Bulky Fabrics: Wool and Fleece
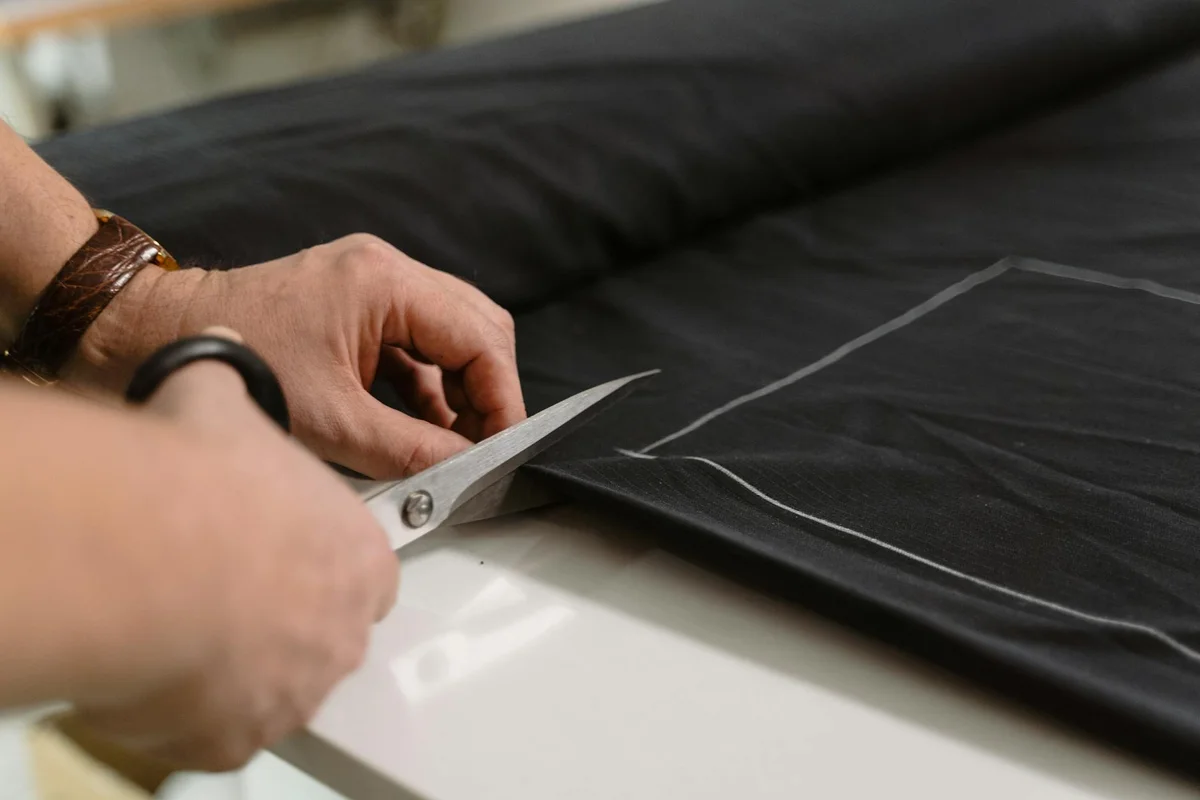
How do you cut wool? The answer starts with respect for its structure. You need tools that can manage its thickness and techniques that prevent it from becoming a felted mess. Understanding how wool is made can also help you handle it better.
For clean cuts, use very sharp, heavy-duty fabric shears that can slice through multiple layers without chewing the fibers. Before you cut, check the fabric’s nap. Run your hand over the surface; it will feel smoother in one direction. For consistent color and texture, all your pattern pieces should be cut with the nap running downwards. For delicate, feltable wools like cashmere or merino, handle the fabric as little as possible during cutting to avoid matting the fibers with the heat and oils from your hands.
How do you hem wool? It depends on the fabric’s weight and drape. For a tailored wool skirt or jacket, professional results come from pressing and hand stitching. Use a tailor’s ham to press the hem curve over steam, which sets the shape without crushing the fabric. Then, secure it with a catch stitch. This hand stitch is nearly invisible from the right side and has built-in give, allowing the wool to move and hang naturally.
For bulkier knits or polyester fleece, you need a hem that stretches. A twin needle on your sewing machine creates two parallel lines of stitching on top with a zigzag underneath, offering excellent flexibility. A wide zigzag stitch also works well. Simply sew over the raw edge to prevent fraying while maintaining the fabric’s stretch. It’s one of the best stitch techniques for stretch fabrics.
Textile Expert’s Note
Wool fibers are covered in microscopic scales, like shingles on a roof. Felting happens when heat, moisture, and agitation cause these scales to lock together permanently, shrinking and matting the fabric. This is why a steamy iron is your friend for pressing a hem, but vigorously handling or washing wool in a machine is so risky. The science dictates a gentle touch.
Cutting and Hemming Slippery, Synthetic Fabrics: Polyester, Nylon, and Spandex Blends
Questions like “How do you cut polyester?” or “How do you hem nylon?” usually come from frustration. These fabrics slide, stretch unpredictably, and can be damaged by heat. The trick is to stabilize your work.
Use extremely sharp scissors or a rotary cutter with a fresh blade for the cleanest cut on sleek fabrics. To stop slippery synthetics from shifting, try sandwiching them between two sheets of lightweight tissue paper before cutting, or use plenty of pattern weights instead of pins. When you are working with stretchy knits containing spandex (like for leggings), lay the fabric completely flat on a large surface and cut without pulling or stretching it. This prevents distorted pieces that won’t fit correctly.
Hemming these fabrics requires the right needle and stitch. Always use a ballpoint or stretch needle; its rounded tip pushes between the synthetic threads instead of piercing and potentially breaking them. Replace your needle often. For the stitch, a narrow zigzag or a dedicated stretch stitch (sometimes called a lightning bolt stitch) allows the seam to stretch without popping. When pressing, use a low heat setting and always place a press cloth, like a thin cotton handkerchief, between the iron and your fabric. This prevents melting and avoids leaving a permanent, shiny “iron mark” on the surface. These same tips apply when sewing hemming stretch fabric, helping the hem flex with the garment. Using a stretch-friendly needle and stitch keeps the hem from puckering or breaking.
Textile Expert’s Note
Polyester and nylon are thermoplastics. This means fiber molecules can be rearranged and set with heat, which is how permanent pleats are created in factories. In your sewing room, this property is a double-edged sword. It allows you to set a crisp hem with careful pressing, but it also means a too-hot iron will melt, glaze, or permanently deform the fabric. Always test your iron temperature on a scrap first.
Cutting and Hemming the Hybrids: Blend Fabrics and Special Cases
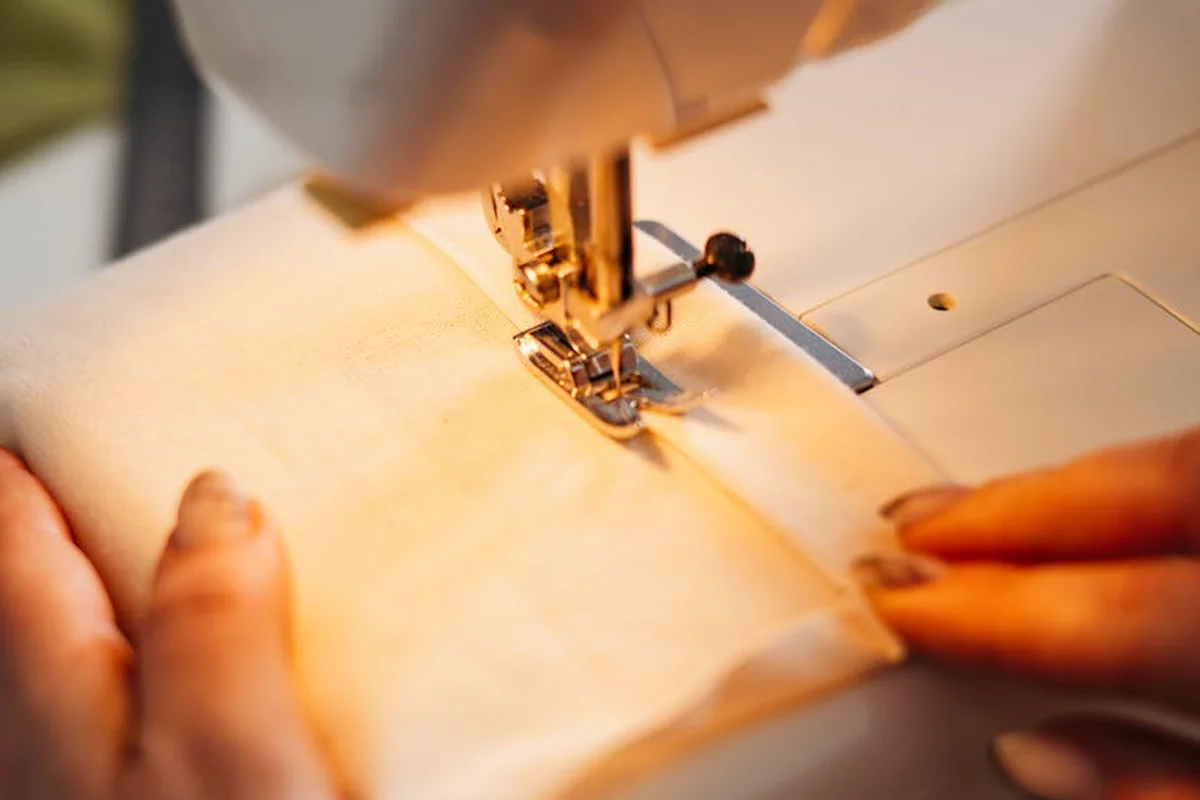
So, how do you cut blends? And how do you hem them? The answer is simpler than the fabric’s tag suggests. You don’t treat the blend. You treat the fiber in charge.
Always handle a blended fabric based on its dominant fiber or its most challenging property. Look at the percentage first. Then, feel the fabric’s hand. The dominant fiber sets the rules for cutting, sewing, and pressing.
Practical Notes for Common Blends
Let’s apply the rule. A 65% polyester and 35% cotton poplin fabric behaves mostly like polyester. It will resist wrinkling and have minimal shrinkage. Use sharp shears and a cooler iron. A wool-nylon coating fabric for a coat demands the careful, single-layer cutting you’d use for wool to prevent distortion, but you must press with a lower, synthetic-aware heat to avoid melting the nylon. For heavy cotton denim, you need heavy-duty tools: a rotary cutter with a fresh blade, denim needles, and a powerful machine.
Answering Your Specific Questions
I often see questions like “how long to cut fabric for a scrunchie.” That depends entirely on the fabric’s stretch and your desired fullness. For a standard tube scrunchie, a good starting point is to cut a strip 3.5 to 4.5 inches wide. The length? For a medium-full scrunchie from a knit with good stretch, cut a piece 18-22 inches long. For a woven fabric with no stretch, you may need up to 28 inches. Always test the length by loosely wrapping it around your hair tie first.
Another common one: “how to cut a 40 inch square of fabric.” If your fabric is at least 40 inches wide, this is simple. Smooth your fabric on a large, flat surface. Bring the selvedge edge (the finished edge) over to meet the cut edge, carefully aligning the grains. You now have a folded piece roughly 20 inches by the fabric width. Measure and cut your 40-inch square from this folded corner. This technique uses the fabric’s own grain to keep your square true.
Textile Expert’s Note
My golden rule for any fabric, blend or not, is this: when in doubt, test. Before you make the first cut on your precious yardage, take a scrap. Test your shears. Test your stitch length and tension. Test your iron temperature. A fabric’s physical hand and behavior in your workspace always trump the information on its label. This small step saves heartache every single time.
Your Hem Starts with the Fiber
Respect the inherent character of your fabric-its drape, stretch, and reaction to tension-before you ever make a cut. This principle guides everything from preventing polyester from puckering to allowing wool the ease it needs, ensuring your finished piece looks professional and lasts.
Every garment you mend or make thoughtfully is a step towards sustainable practice, valuing resources and advocating for animal welfare in your fiber choices. I urge you to keep testing, washing, and observing how fabrics behave; this hands-on science is the true foundation of lasting textile skill.
Expert Resources and Citations
- 7 Types Of Hem Finish And Their Uses – Dream. Cut. Sew
- How to Hem Fabrics: A Beginner’s Guide
- CUTTING FABRIC, How to Cut Fabric Correctly | TREASURIE
- Shop Cut, Hem & Hang Curtain Fabrics
- Making Perfect Garment Hems | New Mexico State University – BE BOLD. Shape the Future.
Florian Ventura
Florian is a high fashion blog writer, fashion and fabric expert and a keen expert in fabric, clothing and materials. She has worked in large textile and fashion houses for over 10+ years, engineering and working with various fabric types and blends. She is an expert when it comes to questions on any and all kinds of fabrics like linen, cotton, silk, jute and many more. She has also traveled around the world studying traditional fabrics and aims to bring them into the modern fashion use.