
Can You Waterproof Wool Garments for Outdoor and Rainy Conditions?
You reach for your favorite wool layer when the sky darkens, wondering if it will really keep the rain out. I work with wool every day, and I can tell you that with the right approach, you can significantly boost its water resistance.
We will cover wool’s natural water-repellent properties, how to select a safe and effective waterproofing product, the correct application process to avoid damage, and the care routine to maintain protection.
Executive Summary: What Happens When Wool Gets Wet
Wool’s ability to handle moisture starts at the fiber level. Each wool fiber is covered in tiny, overlapping scales, like the shingles on a roof or the layers of a pine cone. This structure, combined with the natural lanolin wax present in raw wool, creates a surface that liquid water beads up on and rolls off. This built-in design gives wool a high degree of natural water *resistance*, meaning it can handle a light drizzle or brief exposure before moisture soaks through.
Our goal is to enhance this trait to achieve reliable water *repellency* for consistent use in damp conditions. We do this by adding an extra layer, typically a modern durable water repellent (DWR) finish or a traditional wax treatment. It’s vital to understand that turning a woven or knitted wool garment into something truly “waterproof” would require laminating a waterproof membrane to it, which we are not doing here. Instead, we are working with wool’s inherent qualities to make it more practical for rain.
This approach has clear benefits and trade-offs. The main pros are that wool remains breathable, moving sweat vapor away from your body, and it retains its natural odor resistance. The primary cons are that some treatments can slightly reduce the fabric’s loft and soft hand, and all treatments will eventually wear off and need to be reapplied. These treatments are different from wool felting or shrinking techniques that are often used to intentionally alter the texture and density of the fabric.
Why Wool Reacts to Water the Way It Does
To care for wool properly, you need to know what it’s made of. Wool is a protein fiber, like your hair. Its core, the cortex, is absorbent. The outer layer is made of those protective scales I mentioned. This unique build makes wool hygroscopic, unlike silk. Hygroscopic means wool can absorb a large amount of moisture vapor from the air (up to 30% of its weight) without feeling wet, which is why it buffers you from both dampness and dry heat.
Think of it this way: wool absorbs water vapor like a sponge quietly soaks up humidity, but it can shed liquid water like a duck’s feathers shed rain. The scales and any remaining lanolin help the liquid bead up.
This structure also explains wool’s famous enemy: felting shrinkage. When wool is wet, warm, and agitated (like in a warm washing machine), the scales on the fibers lock together irreversibly. The combination of heat, mechanical agitation, and sudden pH changes (like from alkaline soap) causes the fibers to migrate and mat into a thick, dense felt. This is not like cotton, which shrinks because its fibers swell when wet and then tighten as they dry. It’s also different from synthetic fibers like polyester, which can shrink from high heat melting or distorting their plastic structure.
Knowing this, every step in waterproofing wool must avoid the felting triggers: excessive heat, harsh agitation, and harsh chemicals. We work with cold or lukewarm water, gentle handling, and pH-neutral products to protect the fiber’s integrity while adding our repellent layer. By ensuring the right pH balance, we avoid alkaline damage to wool that can weaken fibers.
Your Three Main Choices for Waterproofing Wool
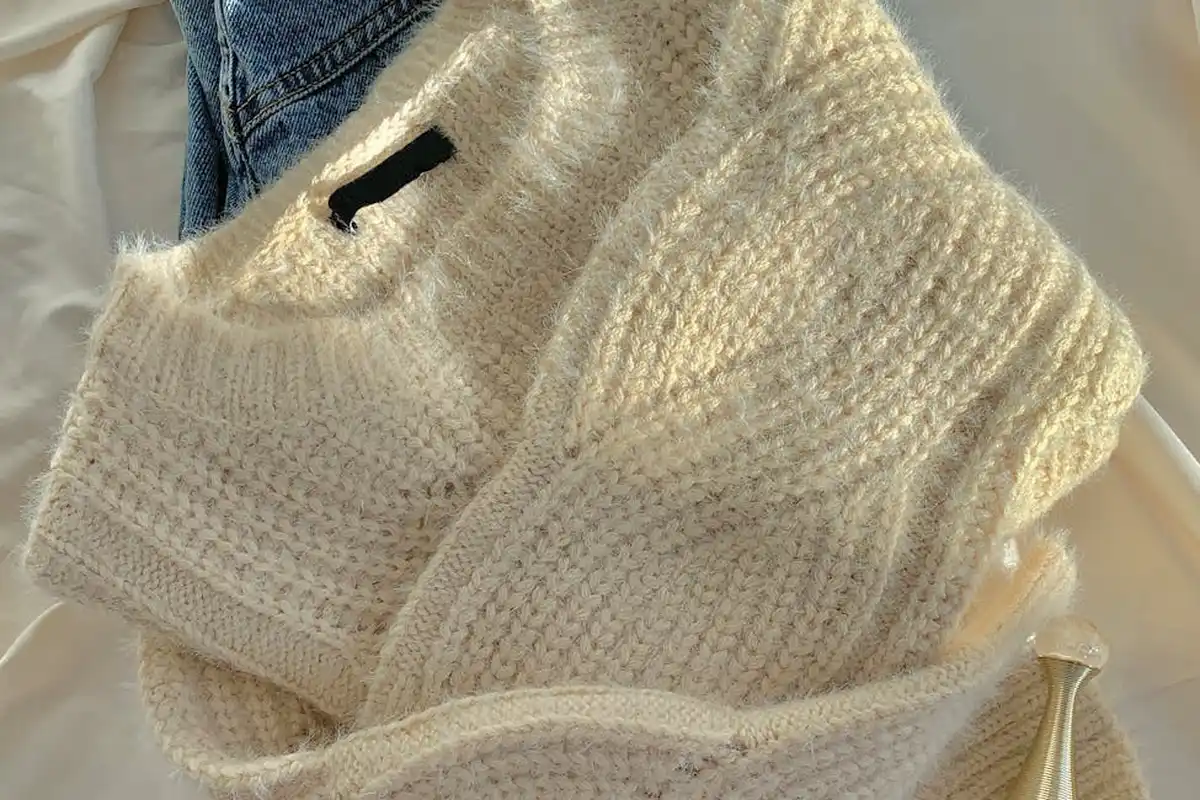
You have three main paths to take, each with a different feel and finish. The right one depends on your garment and how you’ll use it.
Wash-In DWR Treatments for Wool
These are liquid solutions you add to your washing machine’s final rinse cycle. The treatment contains hydrophobic polymers that cling to each wool fiber as the water drains. Think of it as giving each fiber a tiny, water-fearing raincoat. I find this method fantastic for items that need all-over protection, like a thick hiking sweater or wool socks. The coverage is incredibly even. The trade-off is that it can leave a slightly crisp or stiffened hand-feel, especially on very soft merino knits. For a durable workhorse garment, this is a small price to pay for reliable repellency.
Spray-On DWR Treatments
A spray can offers precise control. This is my go-to for revitalizing the water-shedding shoulders and cuffs of a wool blazer or coat, areas that wear out first. Always, always test the spray on a hidden seam allowance or inside pocket first to check for any darkening or staining. Some formulas can subtly alter the color. Work in a well-ventilated space-I always open a window or go outside. The fine mist lets you target high-wear zones without treating the entire garment, which is perfect for maintaining breathability.
Traditional Wax Applications (like for Wool Melton or Boiled Wool)
This is the oldest and most physical method. You rub a bar of wax (like beeswax or a specialty blend) directly onto the fabric, then use gentle heat from a hair dryer to melt it so it seeps into the weave. The wax doesn’t just coat fibers; it fills the tiny gaps between them, creating a robust, physical barrier. The result is superior water repellency, but you sacrifice a lot of the fabric’s natural breathability and get a much stiffer drape. This technique is only for dense, tightly woven fabrics like wool Melton used in classic hunting jackets. Never use it on a delicate knit-it will become a heavy, stiff board.
The Step-by-Step Guide to Applying a Waterproofing Treatment
Preparing the wool properly is everything. A clean, residue-free surface is the only way to get an even, lasting bond. If you skip this, the treatment will fail, regardless of the quality of the fabric.
Step 1: The Critical Pre-Cleaning Wash
Wash your garment with a pH-neutral, wool-safe detergent. Use cold or lukewarm water. Agitation is the enemy here, as it causes felting. Hand wash with gentle squeezing or use the machine’s most delicate “wool” or “hand wash” cycle. The most important part is a thorough, complete rinse to remove every trace of detergent and soil. Any leftover residue will create a barrier between the wool and your waterproofing treatment.
Step 2: Drying Completely Before Treatment
Lay the garment flat on a clean towel or drying rack. Gently reshape it to its original dimensions, smoothing out the sleeves and body. Let it dry fully. In my studio, I give it a full 24 hours to be sure. Applying any treatment to damp wool dilutes the product and leads to weak, spotty coverage. Patience here makes the next steps work.
Step 3: Applying Your Chosen Product
Now for the treatment itself.
- For sprays: Shake the can well. In a ventilated area, hold it 6 to 8 inches from the fabric. Use steady, sweeping motions for an even coat. Don’t soak it; a light, consistent mist is best.
- For wash-in: After the final rinse cycle in your machine or basin, add the recommended amount of treatment. Let the garment soak and move gently for a few minutes before spinning out.
- For wax: Rub the wax bar evenly over the fabric, paying extra attention to high-wear seams and panels. Then, using a hair dryer on its lowest heat setting, gently wave it over the waxed areas. You’ll see the wax melt and vanish into the wool.
Step 4: The Activation Dry
Most modern DWR (Durable Water Repellent) treatments need heat to “cure” and bond to the fibers. The easiest way is to tumble dry the garment on the lowest, gentlest heat setting for 20 to 40 minutes. If you’re wary of the dryer, you can use an iron instead. Set it to the absolute lowest wool setting, use a pressing cloth, and gently iron the treated areas. After the heat cycle, let the garment rest for a full day before you wear it or test the waterproofing. This rest period lets the chemical bonds set completely.
Maintaining and Reapplying Your Waterproofing Layer
Think of your waterproofing layer as a temporary shield, not a permanent armor. Abrasion from backpack straps, dirt ground into the fibers, and every single wash will degrade even the best treatments. Your goal is not to avoid maintenance, but to master a simple care cycle that keeps your wool performing.
How to Wash a Waterproofed Wool Garment
Cleaning is the first and most critical step, both for regular care and before you re-apply a treatment. Getting this wrong strips the protection you’ve worked hard to build.
- Detergent is key. Use a pure, liquid wool wash or a technical “DWR-safe” cleaner. These are formulated without additives that coat fibers.
- Never use fabric softener, stain removers, or standard detergents. They leave a residue that blocks the DWR from bonding to the wool.
- Wash in cold or lukewarm water on a gentle, low-agitation cycle. Hot water can felt the wool and melt certain wax blends.
- Rinse twice if your machine allows. You want all detergent residue gone.
- Air dry flat or tumble dry on the lowest heat setting. Heat is often needed to reactivate the treatment, which leads us to the next step.
How to Know When to Re-treat
You don’t need to guess. Your garment will tell you. I perform this simple check every few months on my heavy-use jackets.
Conduct the “bead test.” Lay your clean, dry garment flat. Lightly sprinkle or spray a few drops of water onto the chest or sleeve. On a freshly treated garment, the water will form tight, round beads that roll off. When it’s time to re-treat, the water will spread out and soak into the fabric within a minute, darkening the wool.
In real-world use, you’ll see this as the fabric “wetting out.” Instead of rain shedding off, the entire surface will become uniformly damp, and the garment will feel heavy. That’s your cue.
The care cycle is a loop: clean, re-treat, reactivate. Always start with a clean garment. Apply your chosen spray-on or wash-in DWR according to its instructions. Finally, use heat-from a dryer on low or an iron on a cool, protective setting-to “cure” the treatment and make it fully active.
Troubleshooting Common Waterproofing Problems
Even with perfect care, things can go sideways. Here’s how to diagnose and fix the most frequent issues.
The Treatment Wore Off Too Quickly
If your DWR seems to vanish after one or two wears, look at your cleaning habits. The most common cause is washing with a harsh detergent that strips the layer before you even go outside. Abrasion from a rough backpack can also speed up wear on shoulders and the back.
Solution: Strip the old treatment completely. Wash the garment with a technical cleaner or a very small amount of mild dish soap (it cuts grease) to remove all residues. Rinse thoroughly, let it dry, and then start the full waterproofing process from scratch on the impeccably clean wool.
My Garment Feels Stiff or Has a White Film
Stiffness usually points to over-application. This is common with wax-based products or pour-in wash-in treatments. You’ve essentially glued the fibers together with too much product.
A powdery white film, called “blooming,” happens with spray-on DWRs. It means the product was applied in a humid environment or wasn’t fully activated by heat, so it crystallized on the surface.
For stiffness, wear the garment; natural movement and body heat will help soften and redistribute the wax. For a white film, toss the garment in the dryer on low heat with a couple of clean, dry towels. The tumbling action helps break up the crystals. A soft brush can also help.
Water Soaks Through in One Spot (Like a Shoulder Seam)
This is a classic issue. Water pressure at high-contact points-shoulders, elbows, seat-can force water through the tiny needle holes from stitching. The fabric might be fine, but the seam is a leak point.
This is a limitation of DWR treatments, not a product failure. The solution is spot treatment. After a general re-proofing, give these high-pressure areas an extra, targeted layer of spray-on DWR. Hold the spray close to the seam and saturate it lightly, then reactivate with heat.
Addressing the “Waterproof Pool Garments” Query
I need to be very clear here. No topical DWR treatment will, or should, make a wool garment suitable for submersion or pool use. These treatments are designed for rain and splashes, not for being underwater.
Chlorine and salt are incredibly aggressive. They will rapidly degrade the DWR chemicals and can severely damage the wool protein fibers, leading to yellowing and brittleness. For swim-adjacent activities where you might get splashed, like sailing or lounging poolside, look for synthetic performance blends or fabrics specifically engineered for quick-drying and chlorine resistance. Wool, even treated, is not the right tool for that job.
Textile Expert’s Handling Pro-Tip
Think of waterproofing wool like grooming it for battle. You’re not applying a magic shield, you’re reinforcing its natural armor for the conditions you’ll face.
My philosophy is simple: waterproofing is maintenance, not a miracle. A treatment won’t turn a fine-knit merino sweater into a rain slicker, and it will wear off with time, washing, and abrasion. The job is to reapply it thoughtfully to keep your gear in fighting shape.
Match the Method to the Mission
You wouldn’t use a sledgehammer to hang a picture. Don’t use a heavy wax on a garment meant for a light drizzle. The right tool matters.
For a wool sweater or hat on a drizzly hike, a light spray-on DWR (Durable Water Repellent) is perfect. It lets the wool breathe while causing water to bead up and roll off the surface. I keep a bottle for refreshing my mid-layer fleeces and knit beanies. It’s a quick, low-commitment boost.
For steady, cold rain, you need the historic champion: a waxed wool jacket or cloak. Waxing creates a more substantial barrier by filling the tiny gaps between fibers. It’s what you see on classic field coats. The wax physically blocks wind and water, making the fabric quieter and stiffer. This is for your outer layer, your shell.
Feel the Change, Then Commit
Every treatment changes the fabric’s personality. A DWR spray might leave a very slight, almost chalky feel. Waxing absolutely transforms it. The wool becomes stiffer, with a distinctive tacky hand and a deeper, matte color.
Always test your chosen method on an old wool scrap or an unseen area, like an inside seam, before treating the whole garment. This lets you feel the new drape and see the color shift. You need to be okay with this new version of your wool.
Here’s my pre-treatment checklist:
- Wash the garment gently with a wool-specific detergent and let it dry completely. You must treat clean fibers.
- Work in a warm room (not hot) so any wax or spray applies evenly.
- For wax, use thin, even layers with a cloth or your fingers, melting it in with a hair dryer. More is not better. Too much wax won’t breathe at all.
Protect the Breath, Don’t Smother It
Wool’s superpower is its ability to absorb vapor from your body and release it to the outside air, all while staying warm. Smother it in a thick plastic-like coating, and you’ll be wet from sweat instead of rain—unlike some synthetic moisture-wicking fabrics that are designed to handle sweat but often lack breathable comfort.
The goal is to enhance wool’s natural performance, not defeat it. A good DWR or a light, properly melted-in wax coating protects the outer surface while the wool’s core continues to manage moisture. That balance is at the heart of waterproof properties fabrics, where surface protection meets breathability. If your “waterproofed” wool garment feels like a plastic bag, you’ve used too much product or the wrong type.
I judge success by a simple test: in cool, damp conditions, the outside repels water, but I don’t feel clammy on the inside. The wool is still doing its job, just with a better shell. That’s the perfect balance.
Last Notes on Fiber Science and Fabric Care
Your most critical step is always to test the waterproofing spray on a hidden seam or swatch first. This hands-on check prevents surprises and honors the unique character of your wool garment, letting you proceed with confidence. Following the product’s instructions precisely and respecting the fiber’s need for a clean, breathable surface gives you the best chance of lasting success, especially when compared to other waterproofing methods for fabrics.
Treating your wool well extends its life, making the most of this renewable resource from ethically managed flocks. The same curious, careful approach you apply here—considering a fiber’s properties, its reaction to washing, and its need for specific care—serves you with every fabric in your closet, from delicate silk to resilient nylon blends.
Expert Resources and Citations
- Is Wool Waterproof? A Deep Dive into This Timeless Natural Material – Mia Melon
- Wind and waterproof wool: the latest waterproof fabric
- How to Waterproof Wool: Step-by-Step – Waterproved
- Are Natural Fabrics Waterproof? – icebreaker
- Women’s Wool Coats, Jackets and Rainwear | Saint James® Breton Striped Shirts – Saint James USA
- Waterproof Wool Pants | L.L.Bean
Florian is a high fashion blog writer, fashion and fabric expert and a keen expert in fabric, clothing and materials. She has worked in large textile and fashion houses for over 10+ years, engineering and working with various fabric types and blends. She is an expert when it comes to questions on any and all kinds of fabrics like linen, cotton, silk, jute and many more. She has also traveled around the world studying traditional fabrics and aims to bring them into the modern fashion use.