
How Do You Dye Viscose, Rayon, and Their Blended Fabrics?
If you’re holding a viscose garment and wondering if you can safely change its color, I’m here to help. I’ve dyed these fabrics in my workshop for years and know exactly how to avoid common pitfalls.
This guide will walk you through my tested process, covering fiber identification, dye selection, pre-treatment to control shrinkage, the dyeing technique itself, and aftercare for color fastness.
What Makes Viscose and Rayon Unique to Dye?
First, let’s clear up the name. Viscose and rayon are two terms for the same semi-synthetic fiber. They start with natural cellulose (often from wood pulp) but are processed with chemicals to become a spinnable thread. This origin story is the key to everything that follows.
That cellulose base makes these fabrics hydrophilic, meaning they love water. When you wet viscose, it doesn’t just get damp. It swells dramatically, like a dry sponge soaking up liquid. This swelling is fantastic for dyeing because it opens up the fiber’s structure, allowing dye molecules to penetrate deeply. This is why the answer to “can you dye 100 viscose?” is a definitive yes-its thirsty, sponge-like nature makes it very receptive to color.
Think of dyeing ease on a spectrum. On one end, you have cotton, another cellulose fiber that dyes readily. Viscose behaves similarly, often yielding richer, darker colors than cotton with the same amount of dye. On the other end is polyester, a synthetic that requires high heat and special dyes to force color into its closed-off structure. Viscose is firmly on the “easy” end with cotton.
You likely love viscose for its sleek drape and soft, fluid hand. That changes when it’s wet. The fabric becomes heavier, more limp, and incredibly vulnerable. The single most important thing to remember is that viscose/rayon has very low wet strength; it can tear easily if pulled or wrung out aggressively. Always handle it with support, like cupping it in your hands to lift it from a dye bath.
That swelling action also explains why these fabrics are notorious for shrinkage. As the fibers puff up with water and then get agitated, they can tighten and compact. We factor this in before we even mix the dye.
The Right Dye for the Job: Choosing Your Colorant
Because viscose is regenerated cellulose, you use the same dyes you would for cotton, linen, or hemp. Your main options are:
- Fiber Reactive Dyes (Best): These dyes, like Procion MX, form a permanent covalent chemical bond with the cellulose fiber. Imagine it as a permanent handshake between the dye molecule and the fiber. This creates the most wash-fast, lightfast colors possible at home.
- All-Purpose Dyes (Okay): Dyes like Rit DyeMore work through a combination of absorption and trapping. They are convenient and good for blends, but the bond is not as strong. You will likely experience more fading over washes compared to fiber reactive dyes.
- Natural Dyes (Possible): You can use plant-based dyes, but they require a mordant (like alum) to create a bond with the cellulose. The process is more variable and involved.
Absolutely, you can tie dye viscose. For crisp, vibrant patterns, fiber reactive dyes are your best bet. The dye bonds to the fabric where it’s applied, so the colors stay distinct and resist bleeding after the initial wash-out.
Here’s a quick guide to what each dye type needs from you:
| Dye Type | Required Heat | Key Additives | Colorfastness Result |
|---|---|---|---|
| Fiber Reactive | Warm water (100-105°F) | Salt (to push dye in), Soda Ash (to fix bond) | Excellent |
| All-Purpose | Simmering heat (140°F+) | Salt often included in dye | Good to Fair |
| Natural Dyes | Simmering heat | A mordant (e.g., alum) | Variable (depends on dye source) |
You must avoid dyes formulated for other fiber families, as they simply will not work on cellulose. Acid dyes (for wool, silk) and disperse dyes (for polyester) will either wash right out of viscose or stain it unevenly and poorly. Using them wastes your effort and can contaminate your dye pot for future projects.
Your Step-by-Step Home Dyeing Protocol
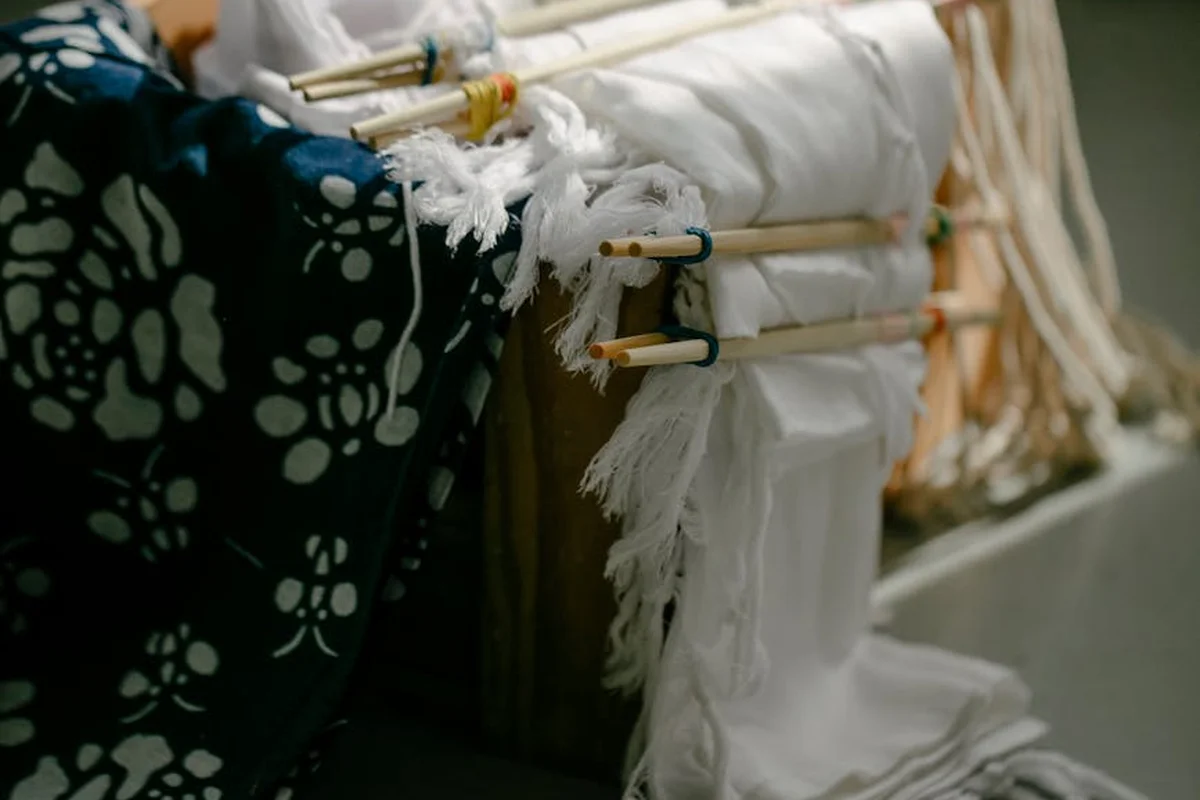
Follow this sequence exactly. Rushing or skipping steps is the number one reason home dye jobs fail on these temperamental fibers.
Step 1: Testing and Pre-Washing
Do not skip this. Your entire project depends on it.
Identify Your Fabric
Find a hidden seam or hem. Snip a tiny thread sample. Hold it to a flame. Viscose/rayon burns quickly with a yellow flame and smells like burning paper, leaving a fine, grey ash. If it melts and beads, you have a synthetic blend.
Test for Colorfastness
Dab a hidden spot with a cotton ball soaked in warm water and a bit of detergent. Press firmly. If color transfers to the cotton, your original dye may bleed during the process, muddying your new color.
The Critical Pre-Wash
Viscose and rayon are almost always treated with spin finishes and silicones at the mill. These repel dye. You must strip them off.
- Use your machine’s hottest wash setting.
- Add a heavy-duty, grease-cutting detergent (like one for dishes).
- Do not use fabric softener.
Wash the item alone. This wash will cause most of the fabric’s shrinkage, typically between 5% and 10%, so the piece you dye will be smaller than the one you started with. Plan your project size accordingly. Let the fabric dry completely before dyeing.
Step 2: Preparing the Dye Bath
For pure viscose or rayon, you need a Fiber Reactive dye (like Procion MX). This dye forms a covalent chemical bond with the cellulose fiber.
Gather Your Supplies
- Fiber Reactive Dye Powder
- Non-iodized Salt (like canning salt)
- Soda Ash (fixative)
- A large stainless steel or enamel pot (never use for food again)
- Rubber gloves, a dust mask, and eye protection
- A dedicated stirring stick
Calculate and Mix
Weigh your bone-dry, pre-washed fabric. This weight dictates everything.
- Dye: Use 2-4% of the fabric weight for medium shades. For 200g of fabric, use 4g to 8g of dye powder.
- Salt: Use 20% of the fabric weight. For 200g fabric, dissolve 40g salt in warm water first.
- Soda Ash: Use 5% of fabric weight. For 200g fabric, dissolve 10g in warm water separately. You add this later.
Fill your pot with enough hot (140°F/60°C) water for the fabric to move freely. Wearing your mask and gloves, dissolve the dye powder in a cup of warm water first, then add to the bath. Stir in the dissolved salt solution.
Step 3: The Dyeing Process
Thoroughly wet your pre-washed fabric in warm water. Gently squeeze it out. This helps it accept dye evenly.
Submerge the wet fabric into the prepared dye bath. Stir slowly and constantly for the first 15 minutes. Keep the temperature steady at that 140°F/60°C mark. Boiling can weaken the fibers. Allow the fabric to soak for the dye’s recommended duration to ensure even color. The exact soaking time varies by dye and fabric.
After 15 minutes of stirring, add the pre-dissolved soda ash solution. This raises the pH and “activates” the dye, locking it onto the fiber. Continue to stir frequently for another 30-45 minutes.
You’ll know the dye is exhausted when the water in the bath looks nearly clear, not deeply colored. This means the dye has left the water and bonded to your fabric.
Step 4: Rinsing and Fixing the Color
Wearing gloves, lift the fabric from the bath. Do not wring it. Carry it to your sink.
Rinse it under cool running water, gently squeezing, until the water runs completely clear. This may take several minutes.
Perform a final rinse with a cup of white vinegar mixed into a sink of cool water. This neutralizes any remaining alkali from the soda ash and helps set the color. Give it one last cool water rinse.
To dry, gently roll the item in a towel to remove excess water, then lay it flat on a drying rack or hang it smoothly. Avoid direct sun or heat. Wringing or twisting at this stage can cause permanent water-spotting and distort the delicate, wet fibers.
Special Considerations for Viscose and Rayon Blends
Blends change everything. The rule is simple: you can only dye a fiber if you have the right dye for its chemical family. Cellulose dyes do not work on synthetics or animal proteins.
Dyeing Viscose/Rayon Blended with Cotton or Linen
This is your best-case scenario. Yes, you can dye a linen-rayon blend successfully. Cotton, linen, and viscose are all plant-based cellulose fibers. For those dyeing plant fibers at home, cotton, linen, and hemp are great starter options.
Follow the exact protocol above using Fiber Reactive dye. All fibers in the blend will accept the color. The final result may have a subtle, beautiful tonal depth because the different fibers can absorb dye slightly differently, creating a richer, more complex hue.
Dyeing Viscose/Rayon Blended with Polyester or Nylon
This is where most home dyers face disappointment. Can you dye polyester and viscose? Technically yes, but practically, it’s very difficult for a uniform solid color.
A Fiber Reactive dye will only color the viscose portion. The polyester or nylon will remain its original color, usually white or off-white. You will get a heather or two-tone effect.
To dye both fibers a solid color, you need a complex two-pot process: first with Disperse dye for the polyester (requiring near-boiling heat), then with Fiber Reactive dye for the viscose. The temperatures and chemicals can damage the viscose. For blends with more than 50% synthetic content, I generally advise against home dyeing; the result is often a faded, washed-out version of your intended color.
Dyeing Viscose/Rayon Blended with Wool or Silk
These blends are rare but problematic. Wool and silk are protein fibers, requiring an acidic dye bath (like Acid dyes). Viscose is cellulose, requiring an alkaline bath (with soda ash). When wool is blended with polyester, laundry care must balance the needs of both fibers. Following proper wool-polyester blends laundry care helps prevent shrinking, pilling, and color issues during washing.
Putting wool in an alkaline bath risks felting and shrinking it irreversibly. Putting silk in high heat with alkali can destroy its luster and strength. I strongly recommend you do not attempt to dye these blends at home, especially those mixing cotton, wool, silk, and synthetics. The risk of ruining the garment is extremely high. Professional dye houses have precise controls to manage this, but it’s beyond typical home equipment.
After Dyeing: Washing, Fixing, and Caring for Your Fabric
Your fabric is now a brilliant new color. The next steps are just as important as the dye bath itself. Proper aftercare locks in the color and keeps your fabric looking its best for years.
A good care protocol now prevents fading and damage later, so follow these steps closely.
Care & Handling Protocol for Newly Dyed Items
Think of the first few washes as a continuation of the dyeing process. Your goal is to remove every last bit of unfixed dye molecule so it doesn’t stain other clothes later.
- Rinse the fabric under cool, running water until it runs completely clear. This can take several minutes.
- Prepare a wash. Use a basin, sink, or washing machine.
- Use cold water only. Heat at this stage can set stray dye stains.
- Add a gentle, pH-neutral detergent or a product specifically made for washing out excess dye, like Synthrapol.
- Wash the item alone. Agitate it gently by hand or use the machine’s gentlest cycle.
- Rinse thoroughly again in cold water.
- Inspect the rinse water. If it’s still tinted, repeat the wash and rinse steps until the water is clear.
Long-Term Care for Dyed Viscose & Rayon
Viscose is a tender fiber when wet. Your long-term care routine must protect it from stress and agitation.
Always opt for a gentle, hand-wash, or delicate machine cycle with cold or lukewarm water to preserve both the color and the fiber’s integrity.
Never wring or twist the fabric to remove water. Instead, press it between two clean towels to blot moisture. For drying, avoid high heat at all costs. The tumble dryer is viscose’s enemy. Lay the garment flat to dry on a towel, or hang it on a padded hanger. If you must use a dryer, only use a no-heat or air-fluff setting for a very short time.
How to Iron Viscose and Rayon for a Sleek Drape
Viscose loves steam and responds well to heat when damp. I always iron viscose while it’s still slightly damp from washing. Set your iron to a medium-hot setting-often labeled “silk” or “wool.” Use the steam function generously. Iron on the reverse side of the fabric to prevent shine, or place a thin press cloth between the iron and the right side of the fabric. The steam helps relax the fibers, restoring that fluid, sleek drape that makes viscose so desirable.
Troubleshooting Common Problems
Color Bleeds After Dyeing
If you see color in the wash water after the initial rinses, don’t panic. This is loose dye. Rewash the item immediately, using a hotter water wash (if the fabric’s care label allows) with a dye-trapping detergent or a cup of white vinegar in the rinse cycle. For stubborn cases, a wash with a commercial dye remover or Synthrapol will usually grab the last of the fugitive dye.
Persistent bleeding often means the dye wasn’t fully fixed, requiring a second dye fixative bath or, in some cases, accepting the piece as wash-alone.
Fabric Shrinks Further After Dyeing
Viscose can shrink when it gets wet and is agitated. If you notice further shrinkage after your post-dye wash, it is almost certainly permanent. This is the fiber structure tightening. You cannot stretch it back to its original size without risking distortion or damage. This is why I always recommend pre-washing and pre-shrinking viscose fabric before you even cut out a sewing pattern.
Textile Expert’s Note: The Fixative Finale
For maximum colorfastness on pure viscose, I take one extra step. After the final rinse, I soak the fabric in a commercial dye fixative, like Retayne for fiber-reactive dyes or a fixative specific to the dye type used. This solution works to chemically bond any remaining dye molecules to the fiber. It’s the best insurance against future fading or bleeding, especially for items that will be washed frequently. Follow the product instructions for soak time and temperature. It’s a simple step that makes a professional-grade difference in your finished project.
After the Dye Bath: Caring for Your Cellulosic Creations
For color that lasts, always scour viscose or rayon before dyeing to strip away factory finishes. I fix my dyes with soda ash and use only fiber-reactive types, which form a permanent chemical bond with the cellulose for wash-fast vibrancy.
Wash your hand-dyed pieces in cool water with a mild detergent to preserve the hue and the fiber’s integrity. Building your knowledge of all fibers—from how wool felts to why polyester needs disperse dye—makes you a more mindful steward of every textile you own or create, including delicate fabrics like silk.
Expert Resources and Citations
- Can You Tie-Dye Viscose & Rayon? The Ultimate Guide to Dyeing Semi-Synthetic Fabrics – Cleaning Wipes and Microfiber Towel Manufacturing
- How to dye rayon, bamboo, viscose, modal, and cupro! – Waxon Batik & Dye Studio
- One-step dyeing of polyester / viscose rayon blend | Request PDF
- Viscose Rayon Fiber | Core Fabrics
- Fabric Dye: How to Choose the BEST Fabric Dye | Buyer’s Guide | MWS
- r/dyeing on Reddit: Dyeing Viscose?
Florian Ventura
Florian is a high fashion blog writer, fashion and fabric expert and a keen expert in fabric, clothing and materials. She has worked in large textile and fashion houses for over 10+ years, engineering and working with various fabric types and blends. She is an expert when it comes to questions on any and all kinds of fabrics like linen, cotton, silk, jute and many more. She has also traveled around the world studying traditional fabrics and aims to bring them into the modern fashion use.